
No Loose Ends
Set down your drink here
Colonial Williamsburg’s weavers were inspired by this blanket, which dates to 1780–1820, to create striped coasters. The blanket was itself made from another textile article, probably a woman’s everyday petticoat or skirt.
The main portion of the blanket consists of two large panels of plain-woven blue and white stripes, woven with natural linen warps and striped in the weft direction with light and dark blue wool and white cotton. One of the narrow stripes gives a twirling effect, made by twisting together blue and white wefts prior to weaving. The blanket is edged on two sides with small pieces of textiles woven in subtle blue and brown stripes; the edging measures about 3¾ inches wide.
The blanket’s origin is uncertain. It may have been made in America or Europe, possibly the Netherlands or Great Britain.
What You Need
- Scissors
- Cardboard
- String (Thinner yarn will also work)
- Yarn (A thick acrylic yarn was used here, but any type of yarn can work)
- Large Plastic Sewing Needle
- The Process
Instructions
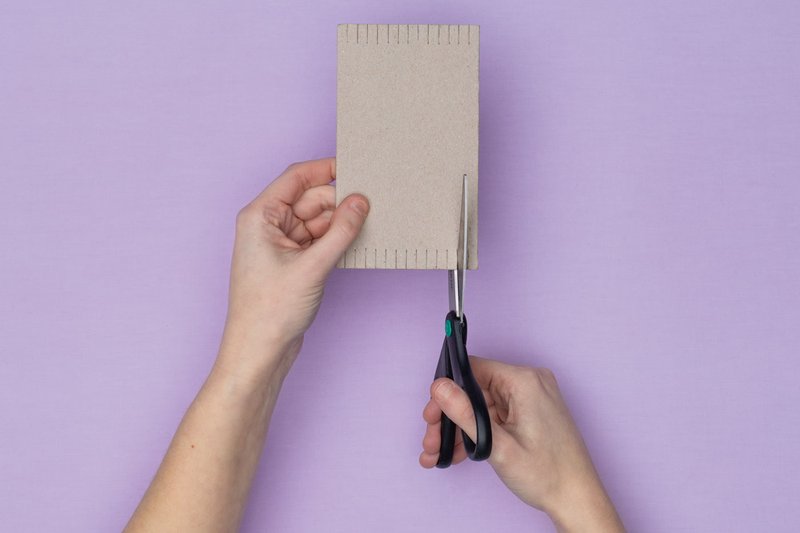
Step 1
Start by making a tiny loom: From the cardboard, cut a rectangle 3½ inches by 6 inches. On each of the 3½-inch sides, cut ½-inch notches about a ¼ inch apart. Be sure to have the same number of notches on each side.
Note Change the size of the coaster by cutting the cardboard bigger or smaller than specified.
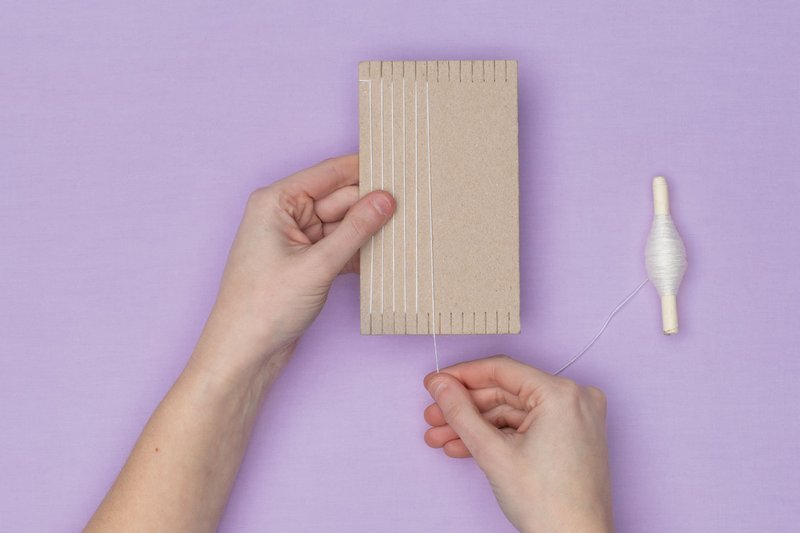
Step 2
Wrap the string once around one of the corner ¼-inch notches of the loom. Then run the string across the loom and slot it into the notch directly across. Continue the string up the back of the loom, slotting it into the next empty notch. Repeat until all of the notches have string in them. Keep a reasonable amount of tension in the string. Loop the string around the final notch to secure it. The string will be the warp.
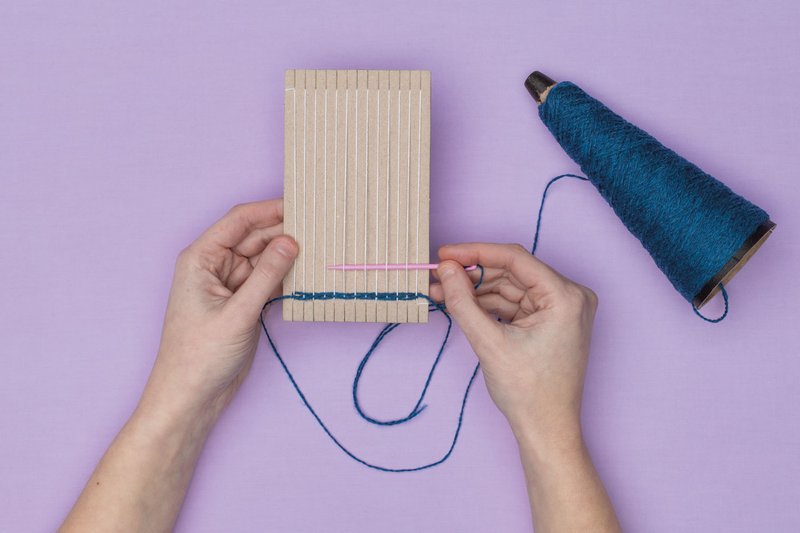
Step 3
Thread the needle with yarn. Feed the needle over one thread and under the next of the warp, alternating all the way across the loom. Use the needle to comb the yarn down tight. Repeat this process in the opposite direction, but this time start by going under the string first and then over. Repeat along the entire warp.
Note Cut the yarn only to change colors. To change colors, overlapping is key. Make sure the new and old yarns overlap by at least an inch. Trim the tails if necessary.
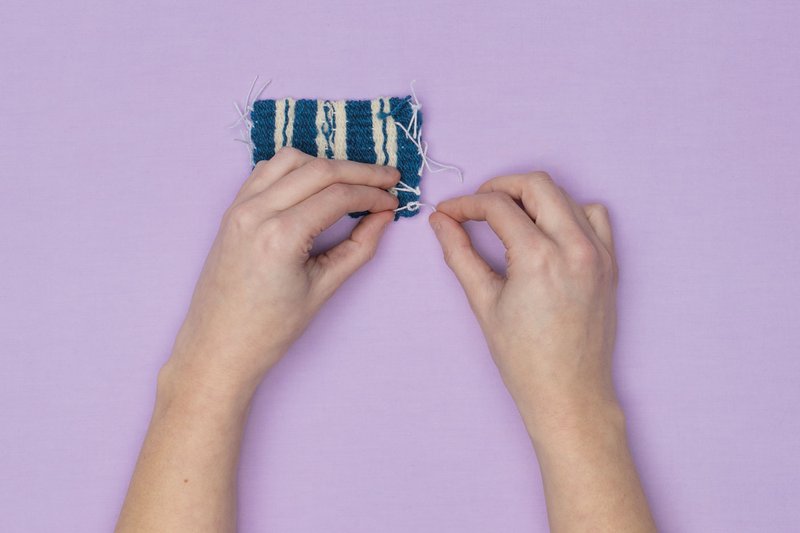
Step 4
When finished weaving, cut the string on the back of the loom and remove the weaving from the cardboard. Tie together the loose threads, neighbor to neighbor, locking the weaving in place. Trim the loose ends as desired.
