The Cardinal Rule
A classic folk art ornament to perch upon your tree
America’s 200th birthday, like the upcoming 250th, prompted an appreciation of the nation’s traditions. In 1975, Betty Ford wanted to decorate the White House Christmas tree with homemade ornaments. The first lady called on the Abby Aldrich Rockefeller Folk Art Center, and employees and volunteers responded by making more than 3,000 ornaments for the White House.
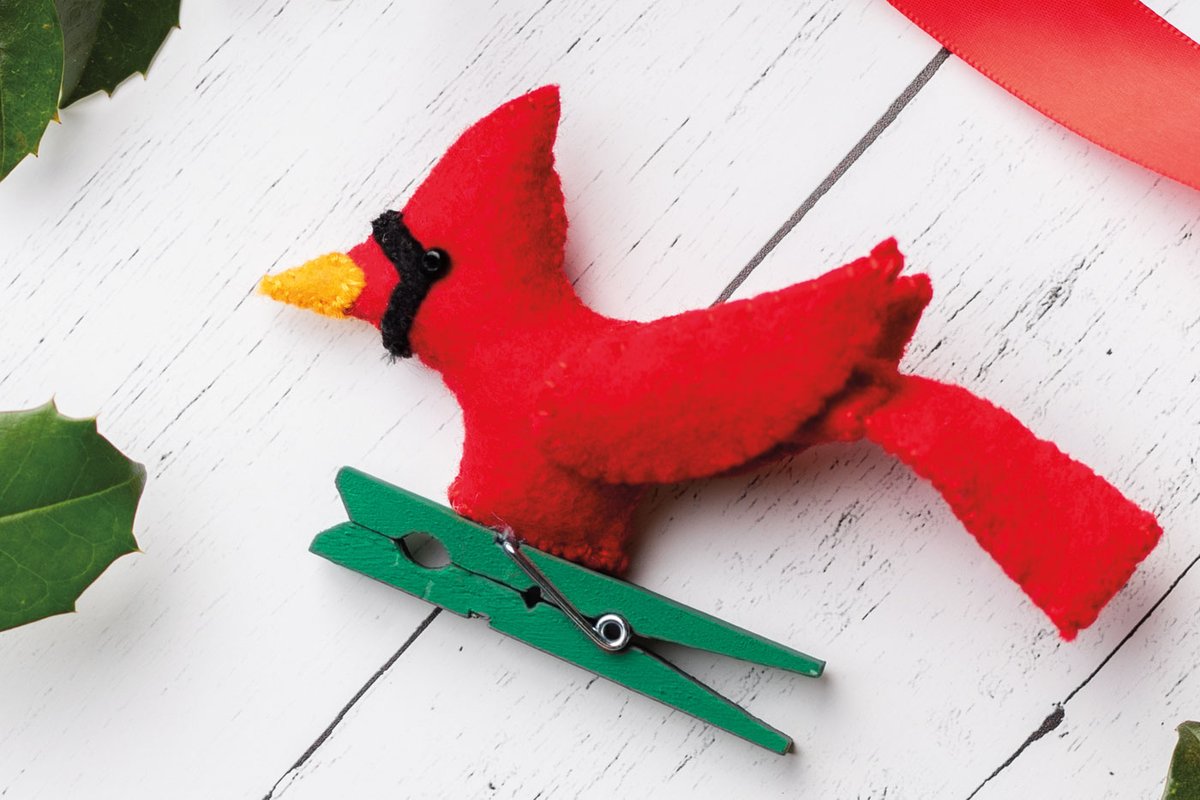
The ornaments were made from everyday objects, none more everyday than a wooden clothespin. Clothespins are often turned into reindeer by Christmas crafters, but for the 1975 White House tree, a clothespin made a fine perch for the state bird of Virginia.
So popular were the ornaments on the White House tree that instructions for them were collected in the 1976 book Christmas Decorations from Williamsburg’s Folk Art Collection, which is now out of print. The clothespin cardinal has been updated — just in time for another milestone American birthday.
What You Need
- Felt in red, gold and black
- Stuffing
- 2 black beads, 8/0
- Clothespin
- Glue
- Scissors
- Green paint
- Needle
- Floss in matching red, gold and black
- Pins
- Paintbrush
The Process
Step 1
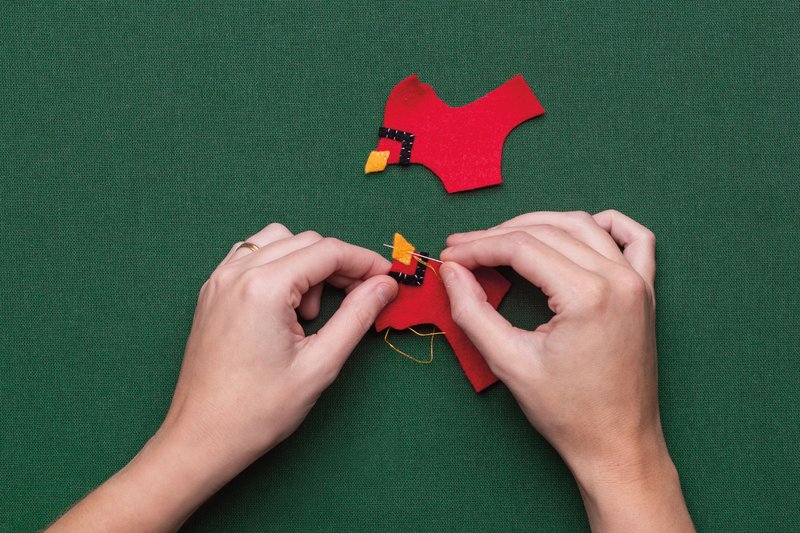
First, paint the clothespin with the green paint. While it dries, construct the bird: Use the templates to cut 2 each of the body and the tail feather in red felt. Cut 2 beaks (gold felt), 2 masks (black felt), 4 wings (red felt) and 1 base cover (red felt). Using matching thread, stitch 1 beak and 1 mask to each body.
Step 2
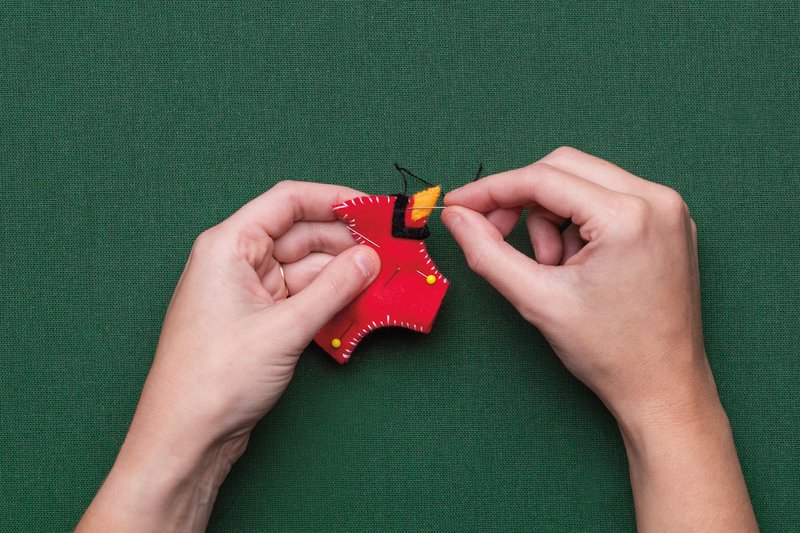
Place the assembled bird bodies wrong sides together and pin. With red thread, start stitching the bodies together from the back of the base to the tail area. Stop and tie off the thread and restart on the other side of the tail area, leaving an opening for the tail. Continue stitching the bodies together, using matching thread to stitch the edges of the mask and beak to hide the red felt underneath. Be sure to leave the base open for stuffing.

Step 3
Layer the tail feathers and stitch them together using matching thread. Add the tail feathers to the bird by pinching together the top and bottom of the tail area, inserting the tail feathers, and stitching closed.

Step 4
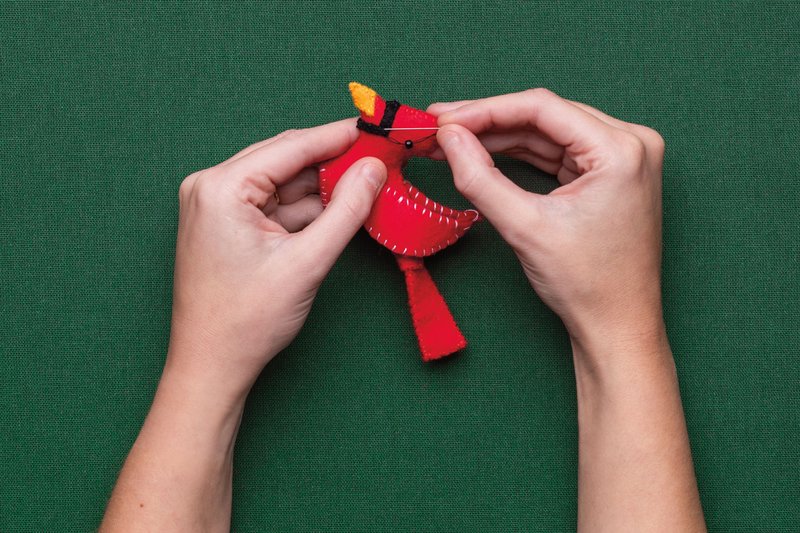
Use the blunt end of the paintbrush (or a similar implement) to push the stuffing into the bird through the open space at its base. Then stitch the red felt base cover over the opening. Layer and begin stitching together 2 wings, beginning at the bottom of the wings. Just before finishing the stitching all the way around, stitch the wing to the bird. Repeat.
Step 5
To add eyes, push a threaded needle through the bird at eye location and pull through all layers. Slide a bead onto the needle and return the needle through the bird to the start position. Add a second bead and stitch through all layers several times to secure.
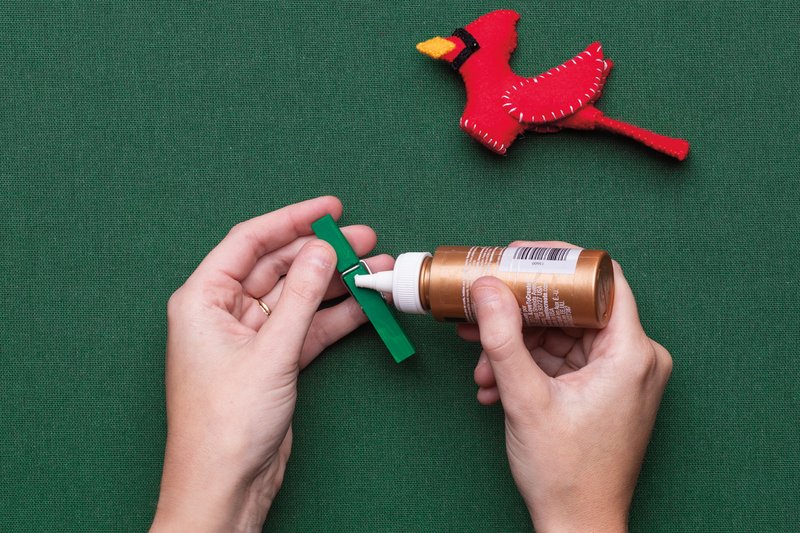
Step 6
To finish the ornament, glue the bird onto the dry painted clothespin.
Find the template at colonialwilliamsburg.org/downloads or click here.
