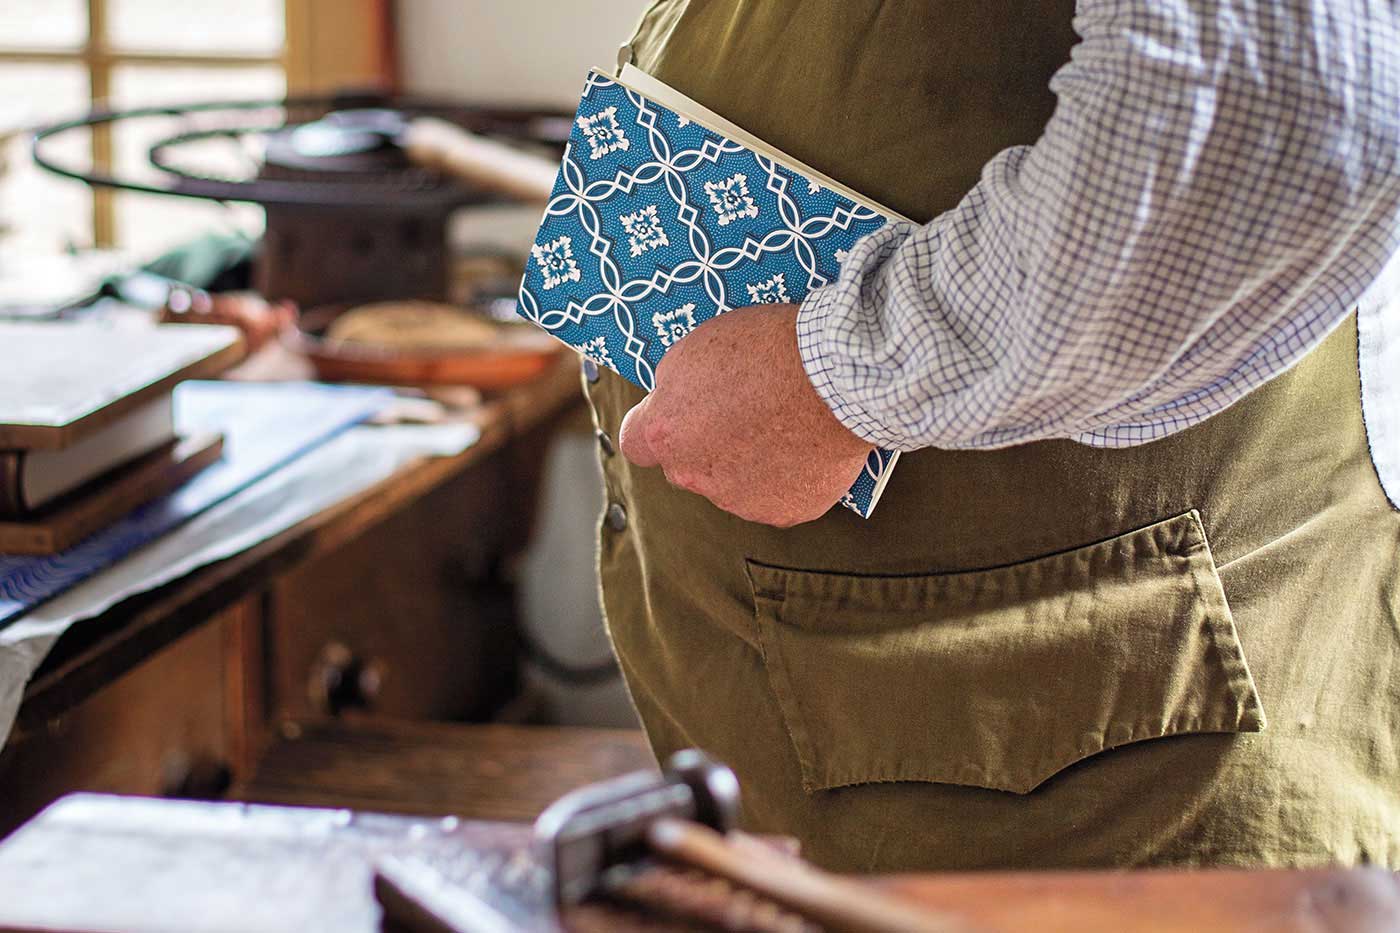
A handmade book of arithmetic that dates to 1761 offers a window into a simple — and very personal — textbook.
“EDWARD THORNE BEGAN TO LEARN ARITHMETICK” proclaims the cover of the book, which is held in Special Collections at Colonial Williamsburg’s John D. Rockefeller Jr. Library. The pages contain explanations of addition, subtraction, multiplication and division, as well as 18th-century weights and measures and reduction of fractions. Mathematical problems — and their solutions — are also included.
Since printed textbooks were rare in the period, students might make their own handwritten versions to review and test themselves.
The technique works just as well for today’s keepsakes. Handmade books can display anything from poetry to artwork to recipes to personal journals and travel diaries. Binding the books uses simple sewing — just thread the string through a few holes. These instructions use 8.5-by-11 paper, but once you have a little experience putting these books together, you can make them any size you like.
Supplies
(A) 8.5-by-11 paper and decorative paper for cover (card stock works best)
(B) stout needle
(C) multi-ply flax thread (available at some yarn stores and online)
(D) wooden board or phone book
(E) awl
(F) scissors
(G) folding bone
(H) hammer
The Process
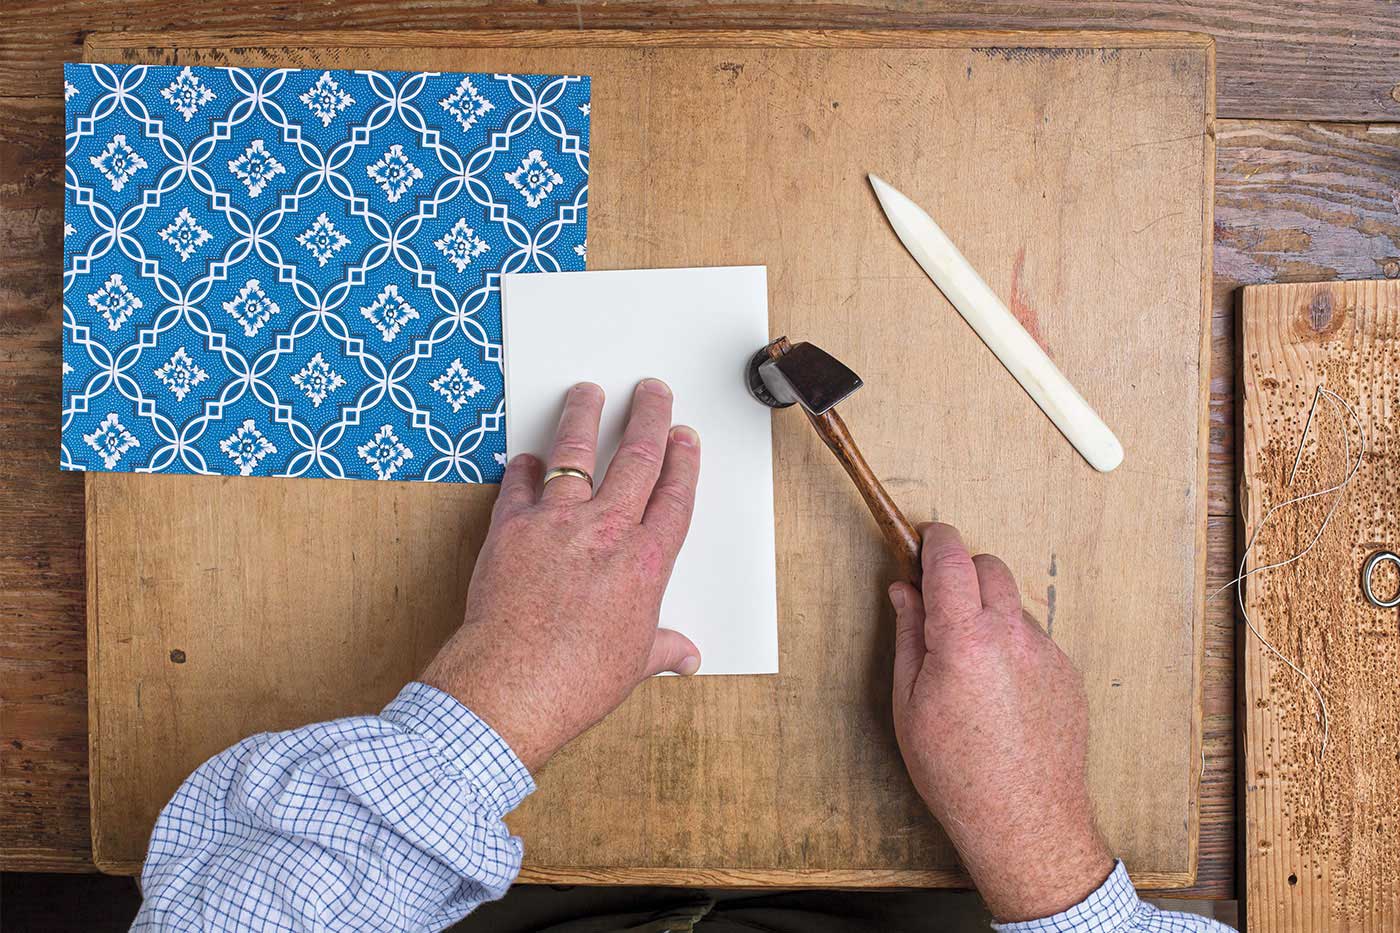
Step 1
Fold the 8.5-by-11 paper in half for the interior of the book. (For this example, we used 12 sheets of paper for a 24-page finished book, but your book can be larger.) Use the hammer to flatten the crease.
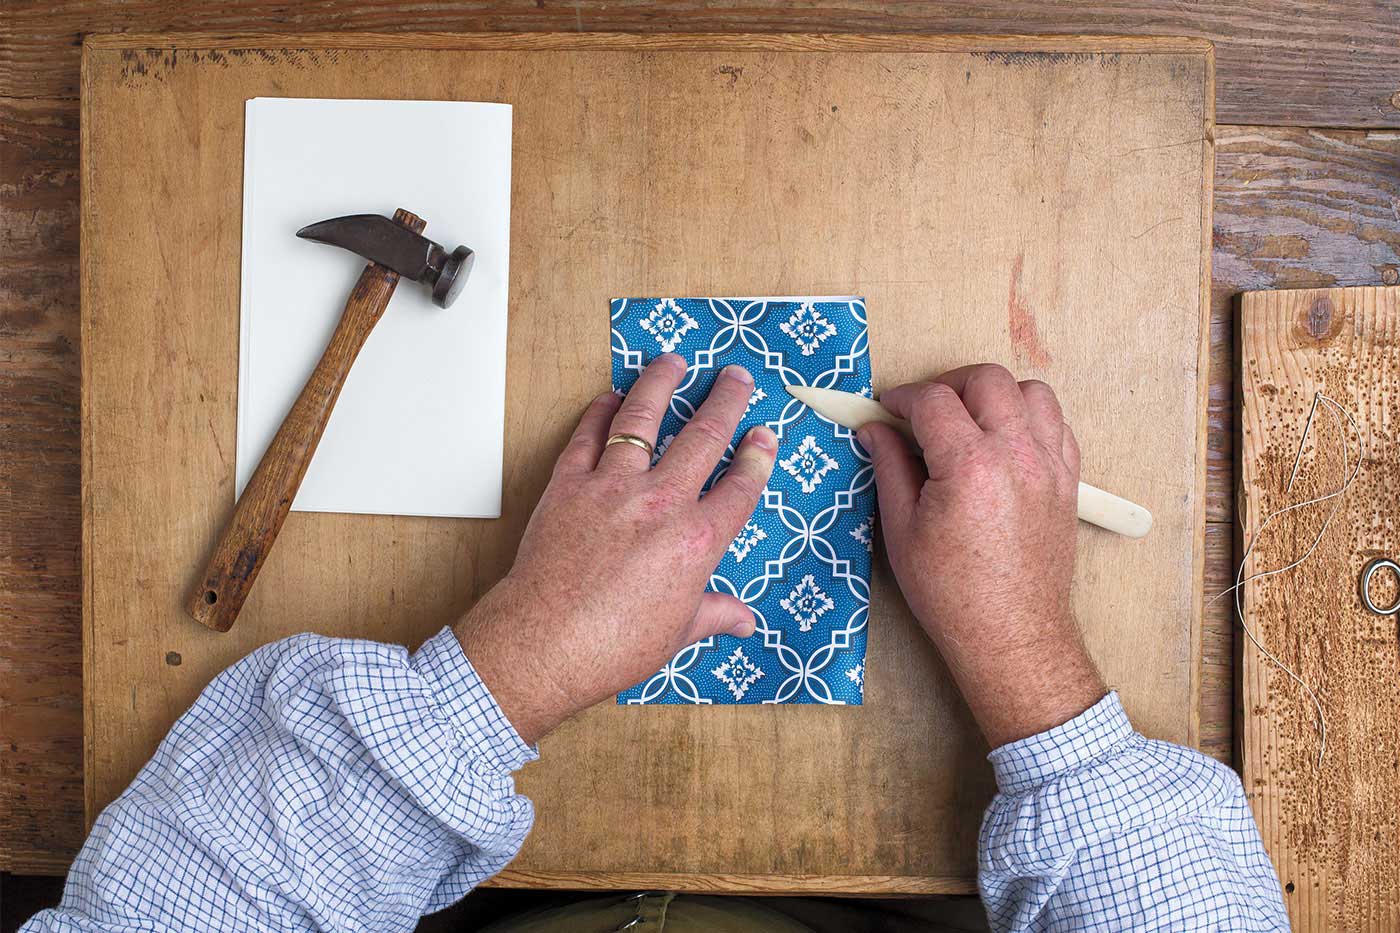
Step 2
Fold the decorative paper for the cover in half and flatten the crease using the folding bone. Place the folded interior sheets inside the cover, matching the folded creases.
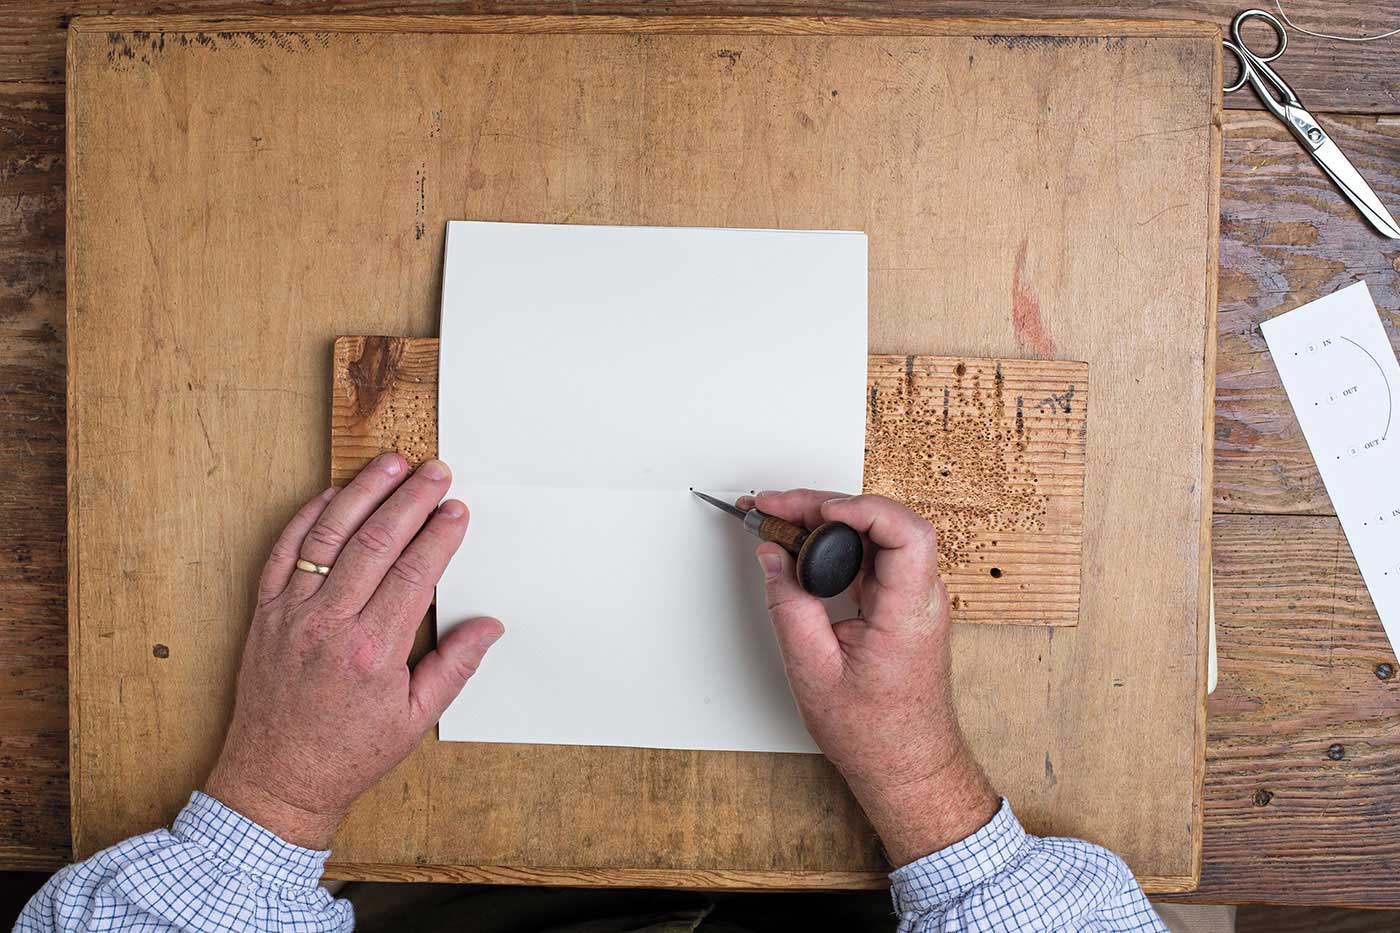
Step 3
Place a board on a flat surface, and then place the book, opened to the exact center, on the board. Punch 6 evenly spaced holes with the awl down the length of the crease in the book’s interior.
Step 4
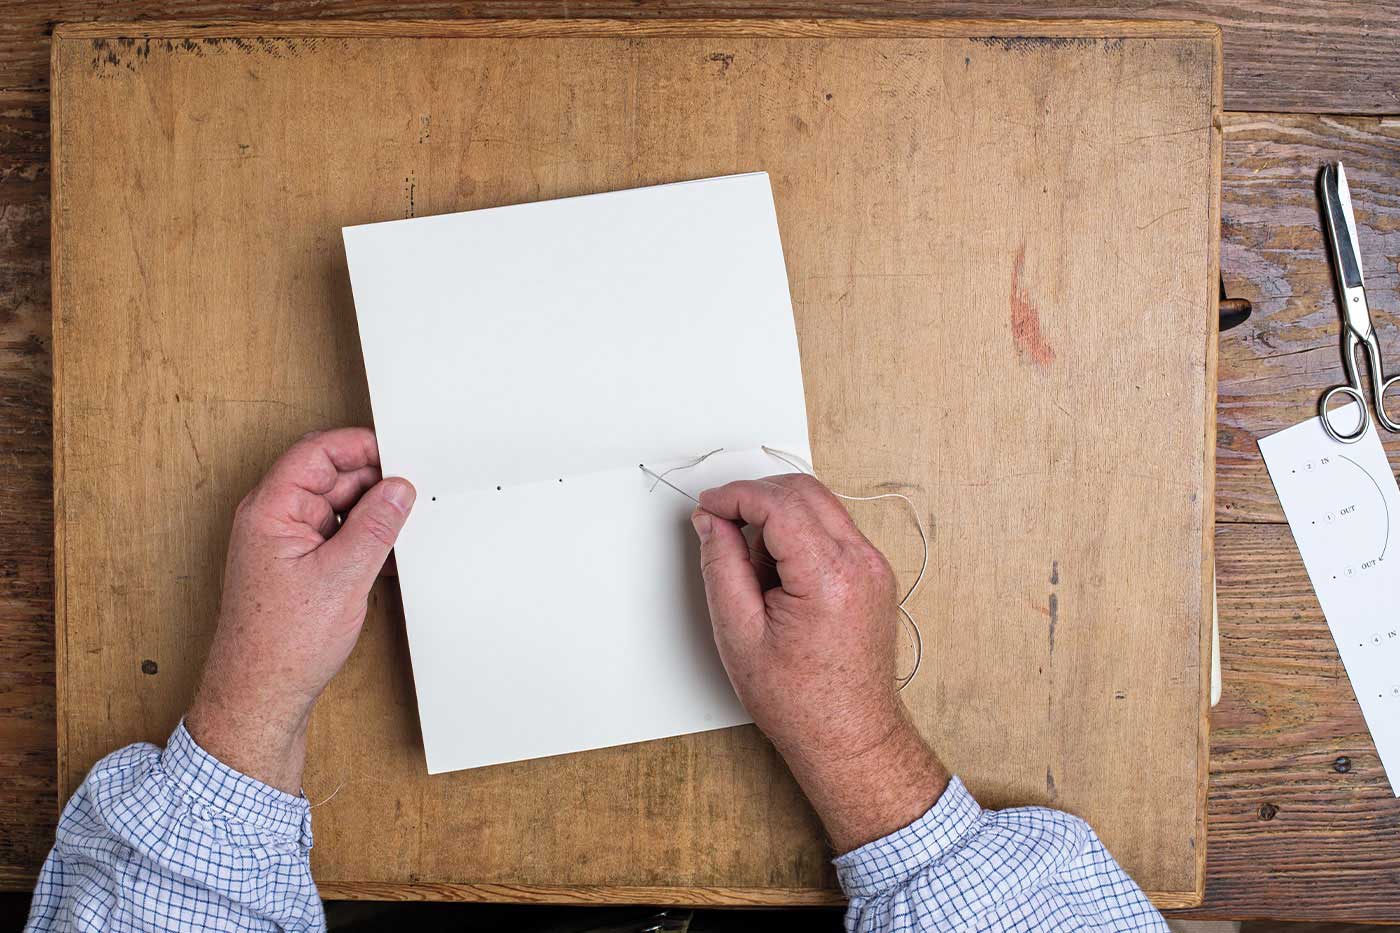
Cut the flax thread to measure four times the height of the book. (For this example, the thread measured 34 inches.) Pull the thread through the needle eye until the ends are even. Do not tie the ends together. Insert the needle in the second hole from the top on the interior side of the book and pull through to the outside, leaving about a 1.5-inch tail. From the exterior of the book, insert the needle through the top hole, pull the thread snugly, and then insert the needle into the third hole. As you draw the thread down through the third hole, split the tail with it—one end of the tail to the right and one to the left.
Step 5
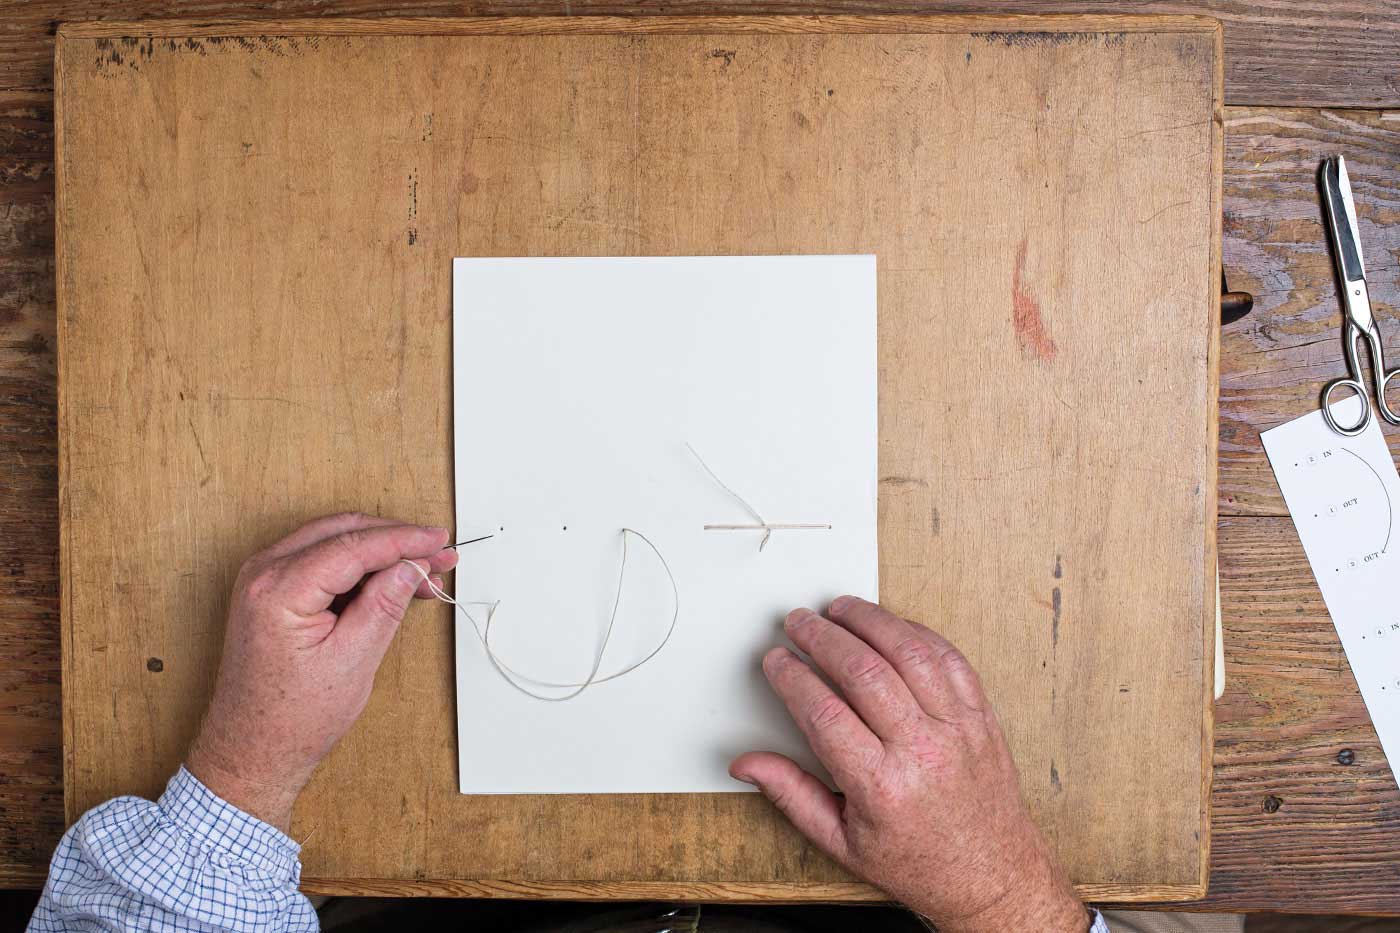
Without cutting the thread, continue stitching. From the exterior of the book, insert the needle through the fourth hole. Then pull the thread down snuggly, inserting the needle in the bottom hole.
Step 6
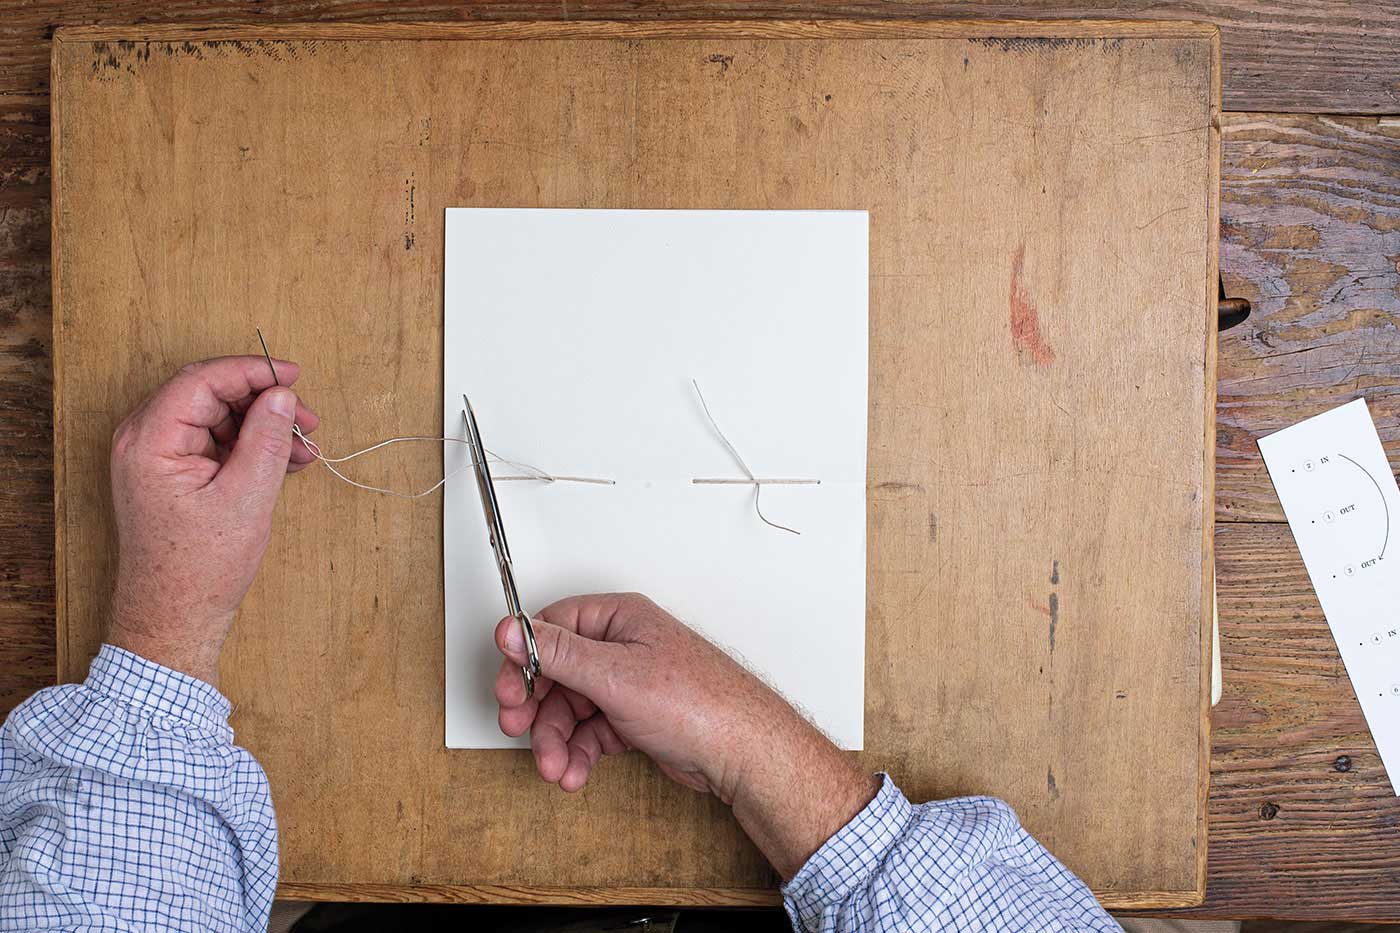
Insert the needle into the interior of the book through the fifth hole, making sure not to split the two threads that are already running down the interior crease of the book. Trim the thread, leaving about 1.5 inches for the tails. Split the tail under the center thread with one end to the right and one to the left, as you did in Step 4.
Step 7
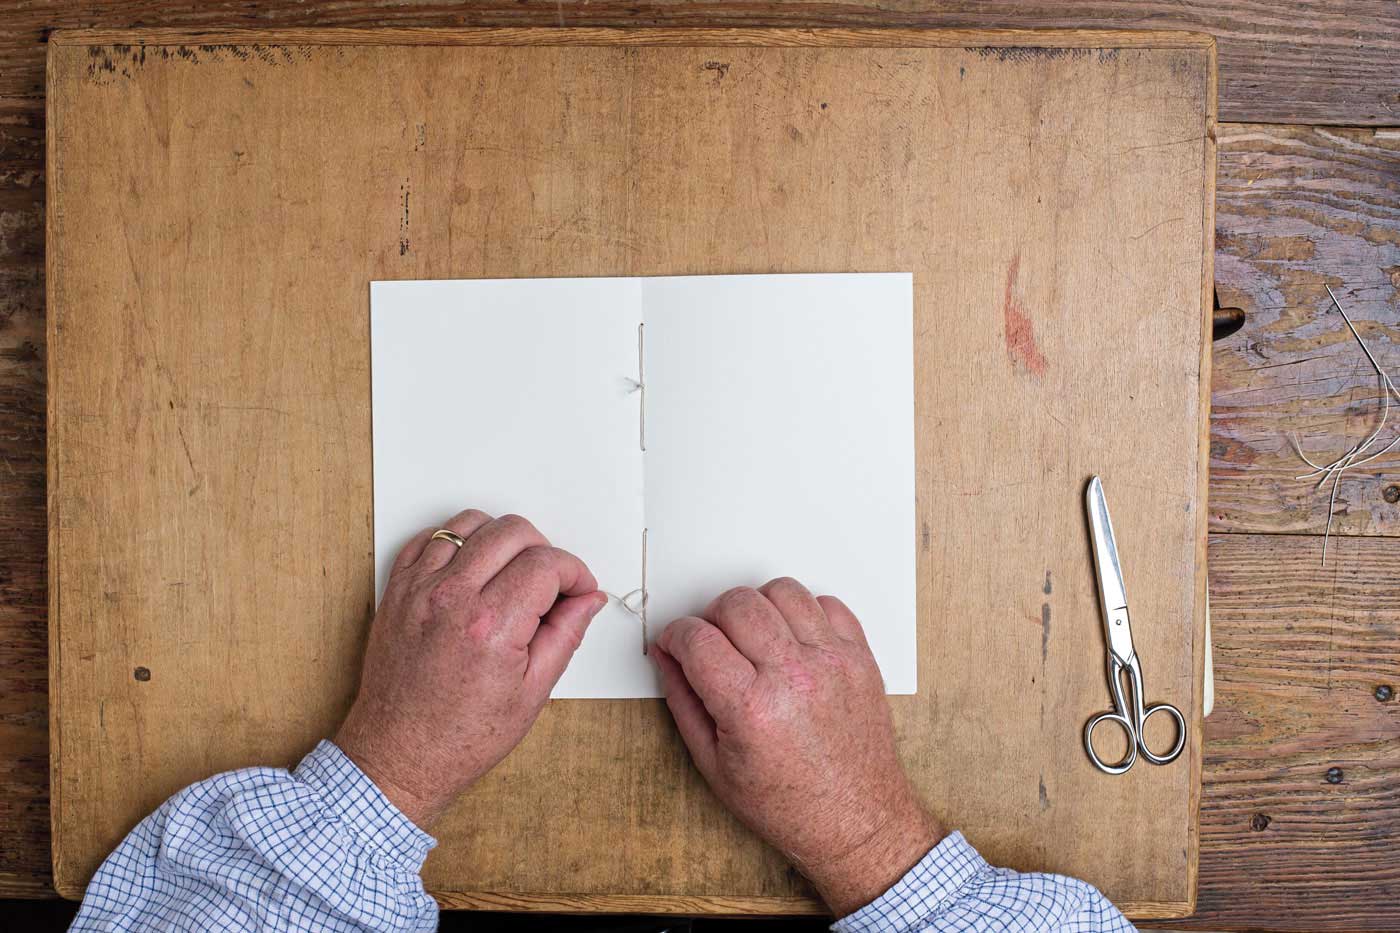
Tie the two ends of each tail together in a knot over the center thread, and trim to leave tails of approximately ¼ inch.
Note: You can find a guide to help you with stitching the book, as well as patterns for the cover, at colonialwilliamsburg.org/downloads
