
German immigrants to the colonies often brought household objects with them, including iron stoves. The practical stove design made of five or six iron plates became popular, and colonial forges soon began making the plates. The back of the stove opened into the kitchen fireplace through an aperture in the wall, producing smokeless heat for nearby rooms.
The stove plates were often decorated with common Pennsylvania Dutch motifs: religious symbols, passages and scenes; flowers; and wheat. The name of the forge where the plates were made and their date of manufacture were often added, along with family names.
This plate features a radiant heart, a common symbol of both religious faith and the joy brought about by all forms of love. This ornament, adapted from a practical household item, adds shine to holiday decor.
Supplies
- Decorative paper
- 36-gauge aluminum tooling foil
- Felt
- Crepe paper
- Stylus/chopstick
- Double-sided mounting tape
- Needle
- Thick thread
- Twine
- Embroidery scissors
- Hole punch
Instructions
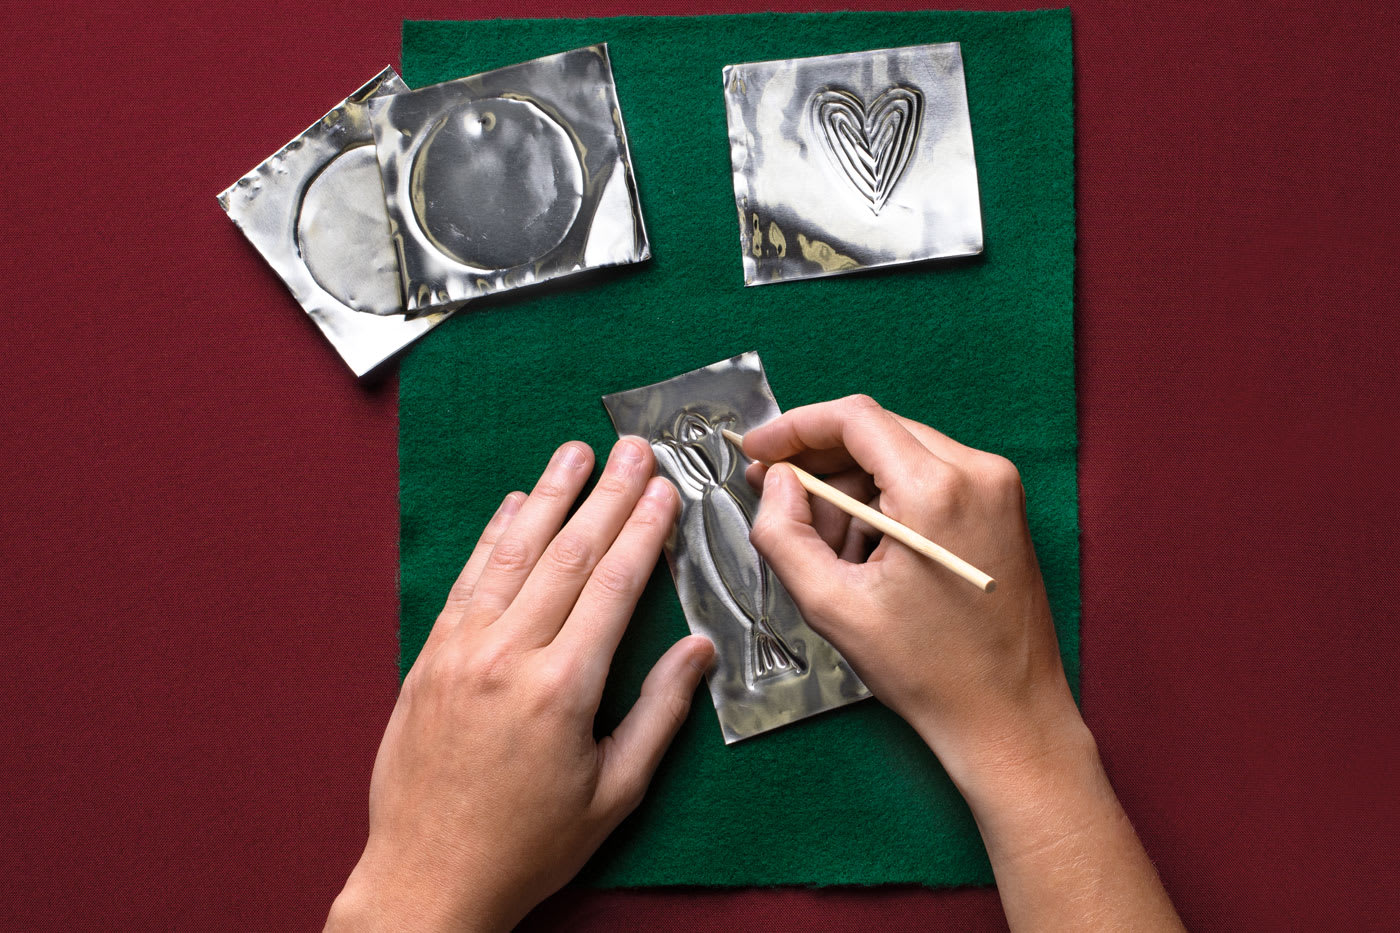
Step 1
Print the template and tape it to the tooling foil and place the foil on the felt. Using the stylus, trace all the shapes except the large heart into the foil. Remove the template and, using the stylus, go over the outlines in the foil, pressing firmly. Using the stylus, add decorative designs and inscribe the date on the large circle.

Step 2
Cut out the foil pieces. To cut tooling foil, cut outside the traced lines; do not cut on the lines or they will disappear.

Step 3
Punch a hole at the top of the undated circle. To make the hanger, thread a piece of twine through the hole and tie the ends in a knot.

Step 4
Using the template, cut the larger heart from the decorative paper. The paper heart should fit within the foil circle.

Step 5
Cut a 36 length of crepe paper. With the needle and doubled thread, sew a line of running stitches close to the edge of the crepe paper. On the first stitch, do not pull the thread all the way through; allow a few inches of a tail to remain. Once the entire edge is stitched, hold the thread, alternately at each end, and gather the crepe paper. Knot together the two ends of the thread to hold the gathered crepe paper. Flatten the crepe paper manually.
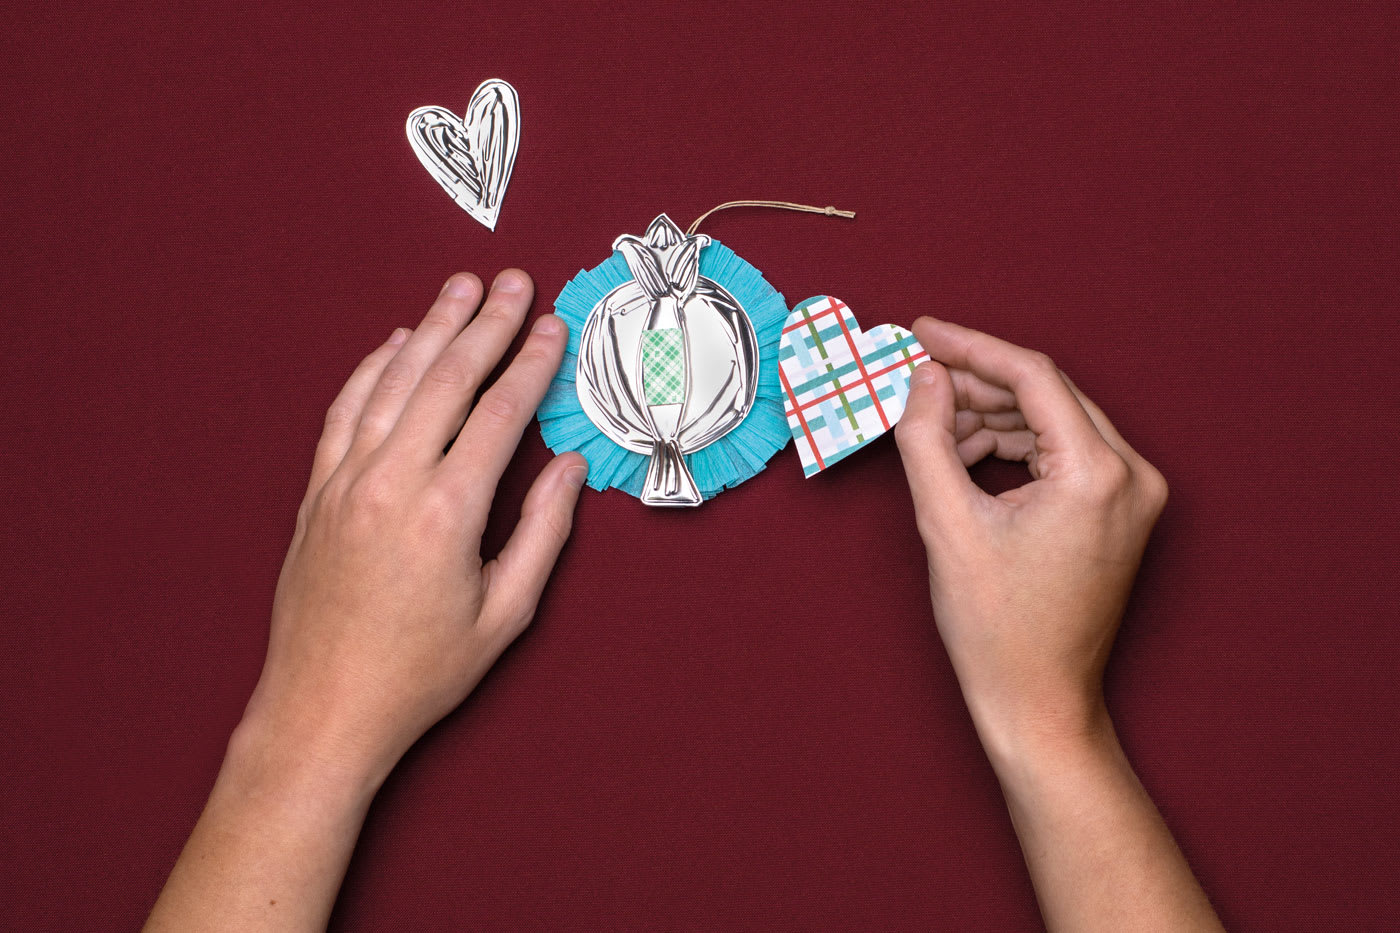
Step 6
Layer all the pieces using the double-sided mounting tape between each layer. Order from bottom to top:
- Dated circle (The date should be visible on the back of the ornament.)
- Crepe paper ruffle
- Circle with twine
- Tulip
- Large paper heart
- Small foil heart