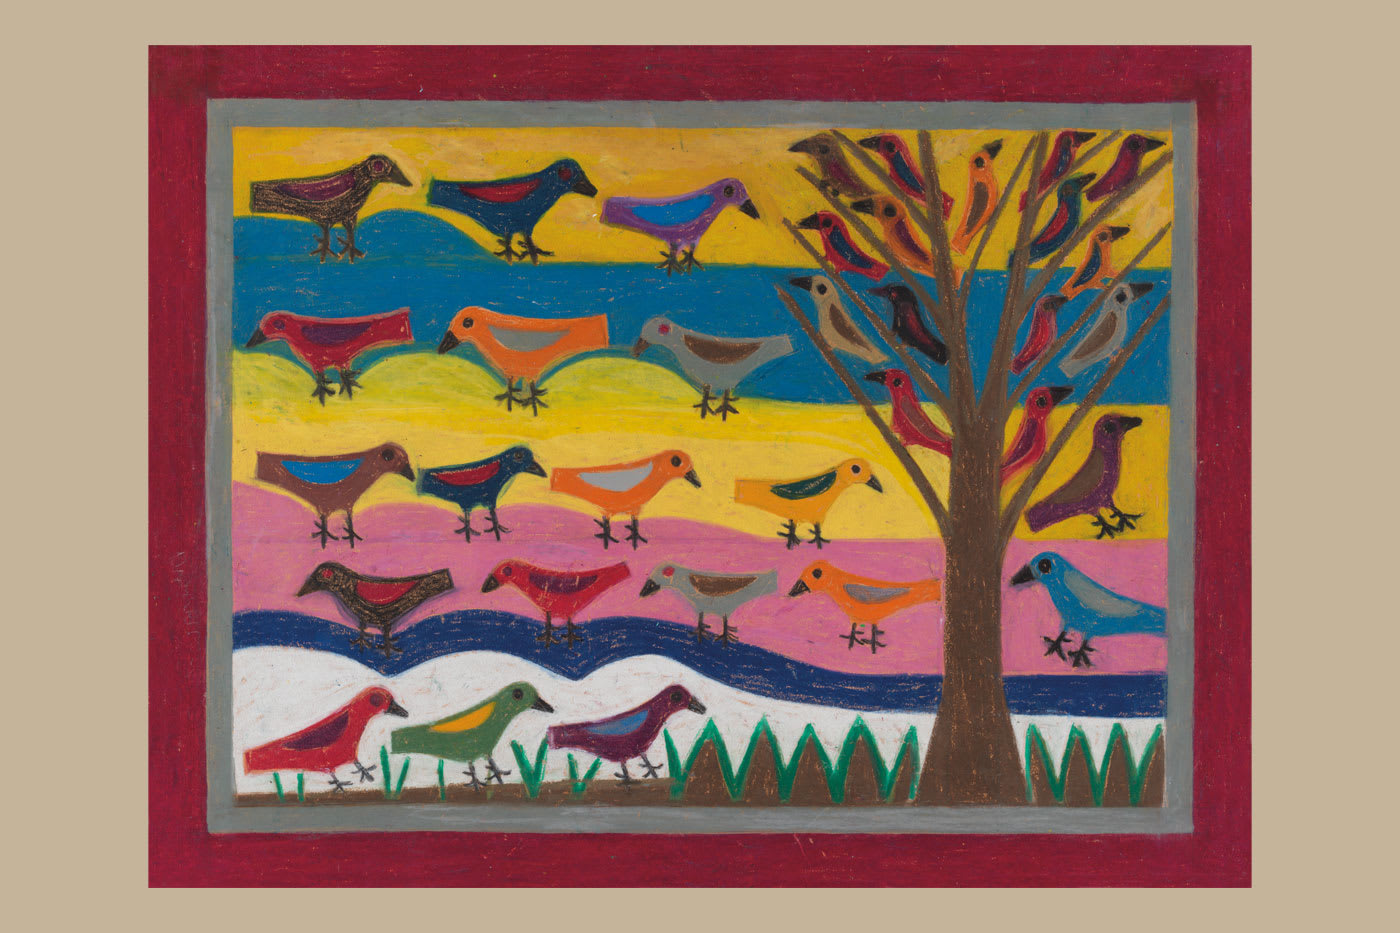
Birds were a favorite subject for Eddie Arning, who was introduced to crayon art by Helen Mayfield, a Texas artist who volunteered at the Austin State Hospital where Arning was admitted as a young man with symptoms of mental illness. His early works include scenes from his childhood and memories of the Texas farm where he grew up.
Arning created Birds and Tree using an abstract crayon technique that employed vivid colors and bold shapes, all rubbed to a bright sheen. The work is featured in an exhibition at the Abby Aldrich Rockefeller Folk Art Museum that explores Arning’s life and sources of inspiration for his art.
Supplies
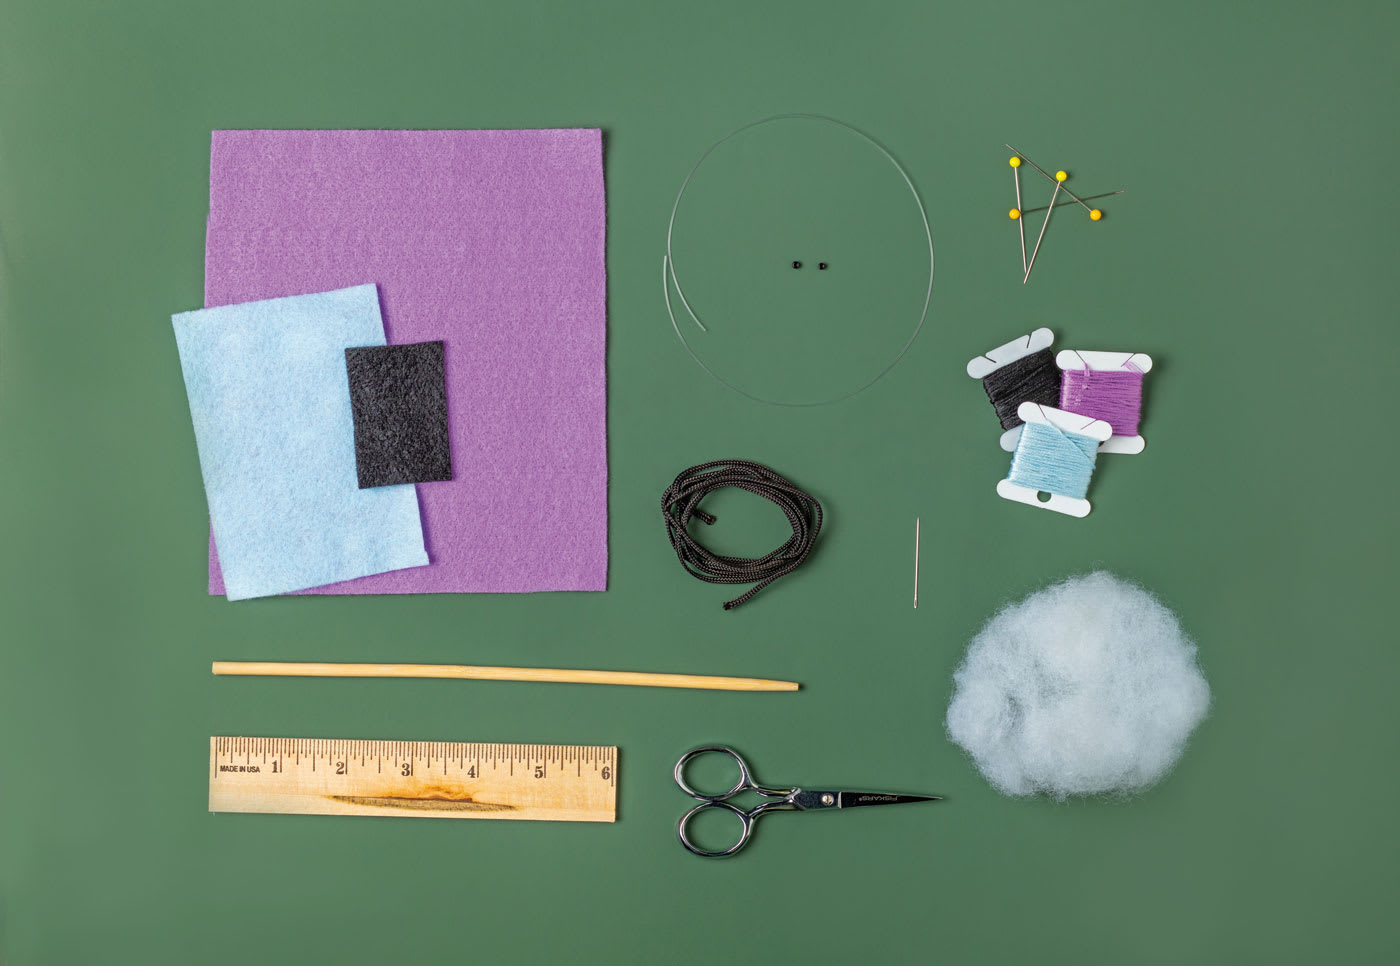
- Felt scraps
- Chopstick
- Ruler
- Fishing wire
- 2 black beads, 8/0
- Black cord, ribbon or twine
- Scissors
- Pins
- Embroidery floss
- Needle
- Stuffing
Instructions
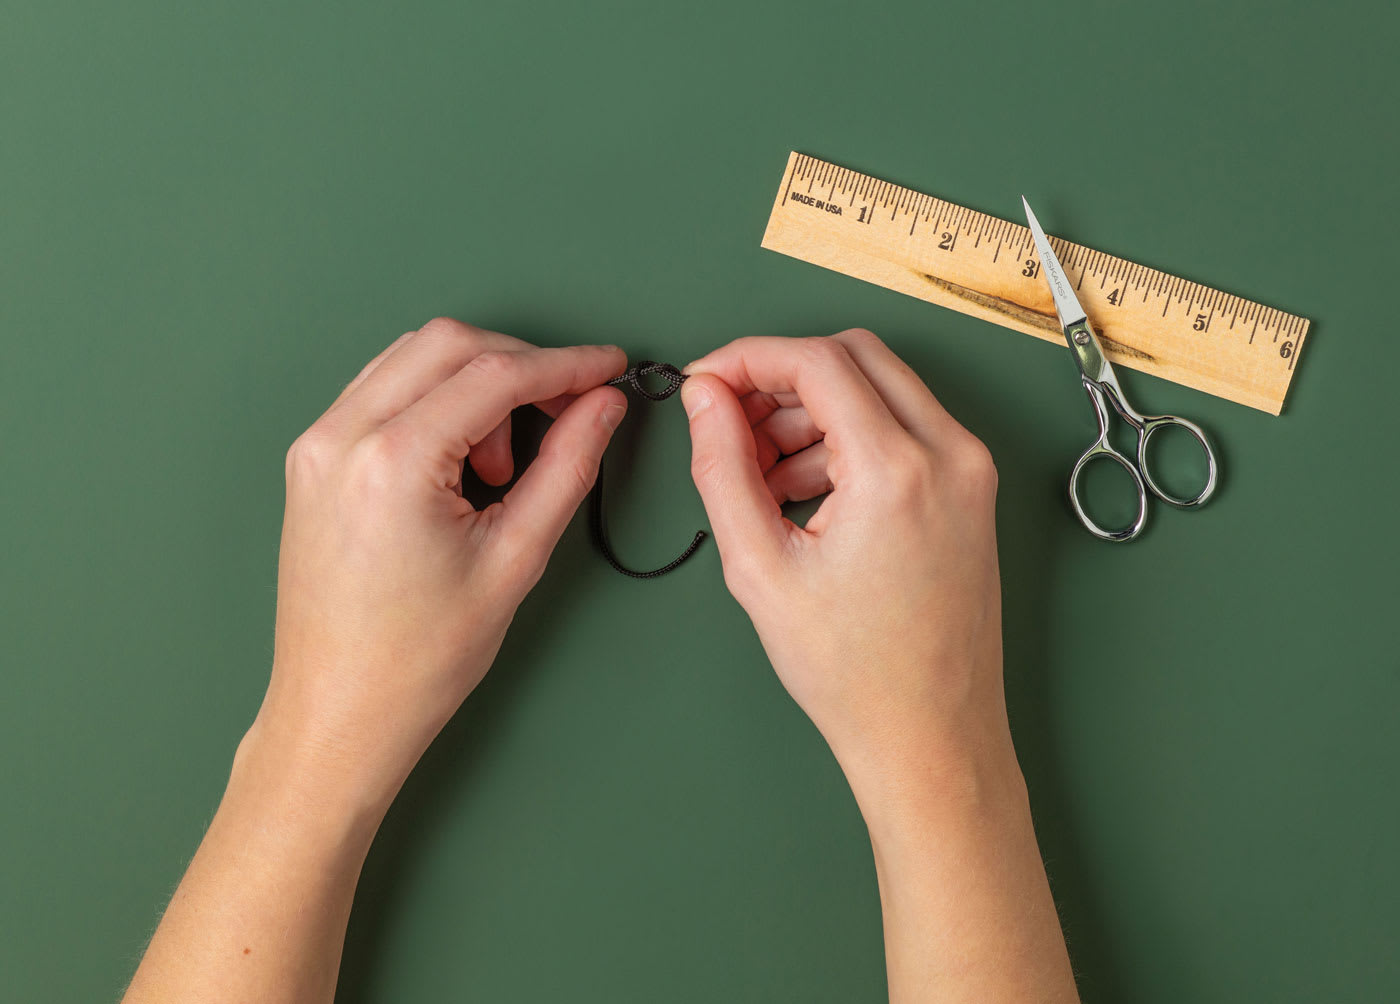
Step 1
To make the legs, cut one 6-inch and two 4-inch lengths of black cord, ribbon or twine. Tie a knot at each of the six ends.
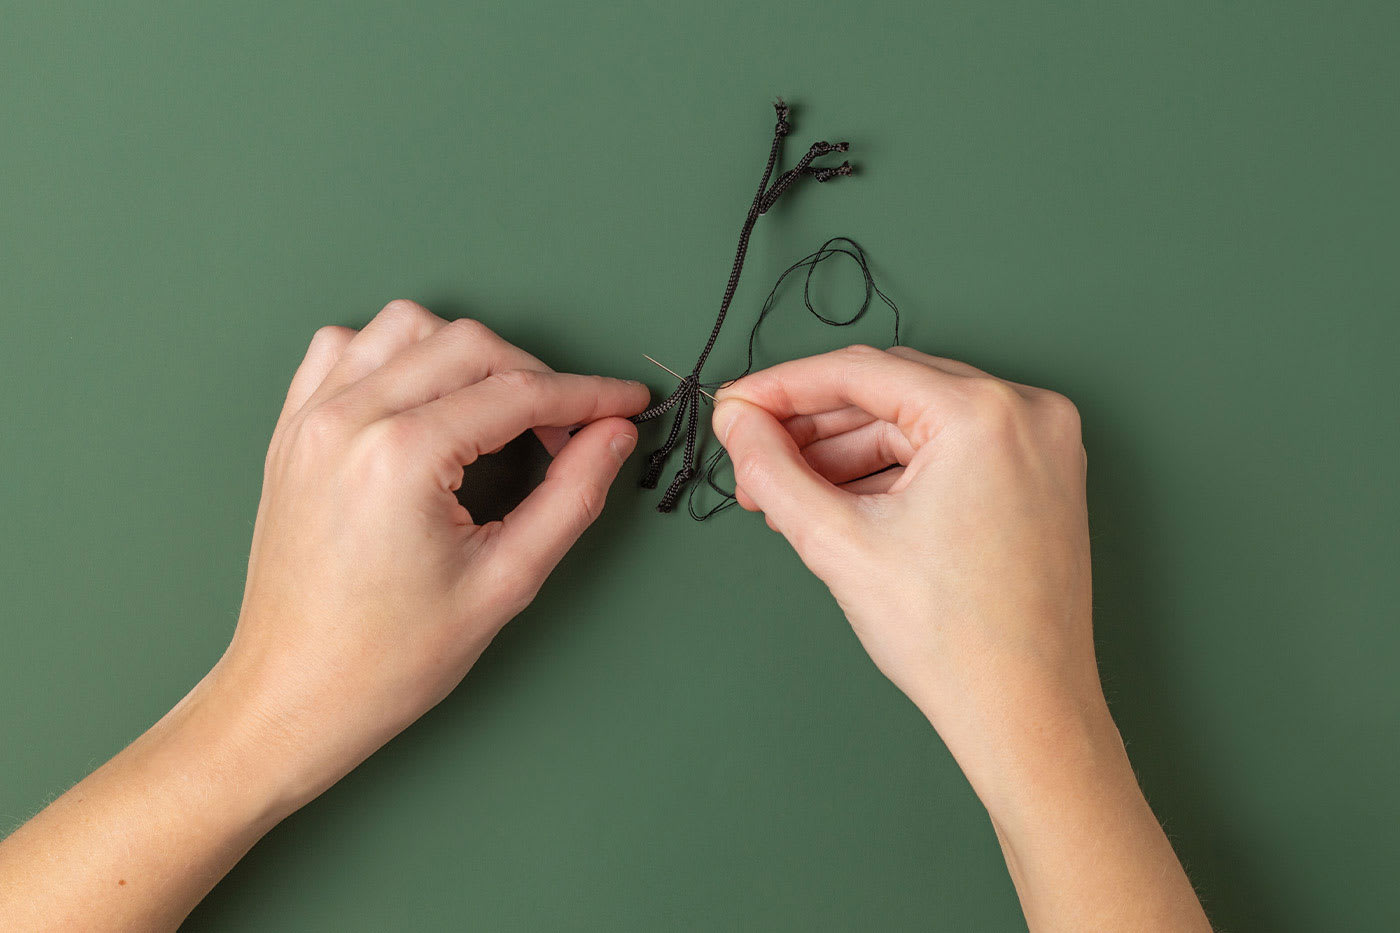
Step 2
Fold one of the 4-inch lengths in half and match up its two knots with one of the knots on the 6-inch cord, and stitch together at the fold, making sure all the knotted ends are even. Repeat with the other 4-inch length at the opposite end of the 6-inch cord.
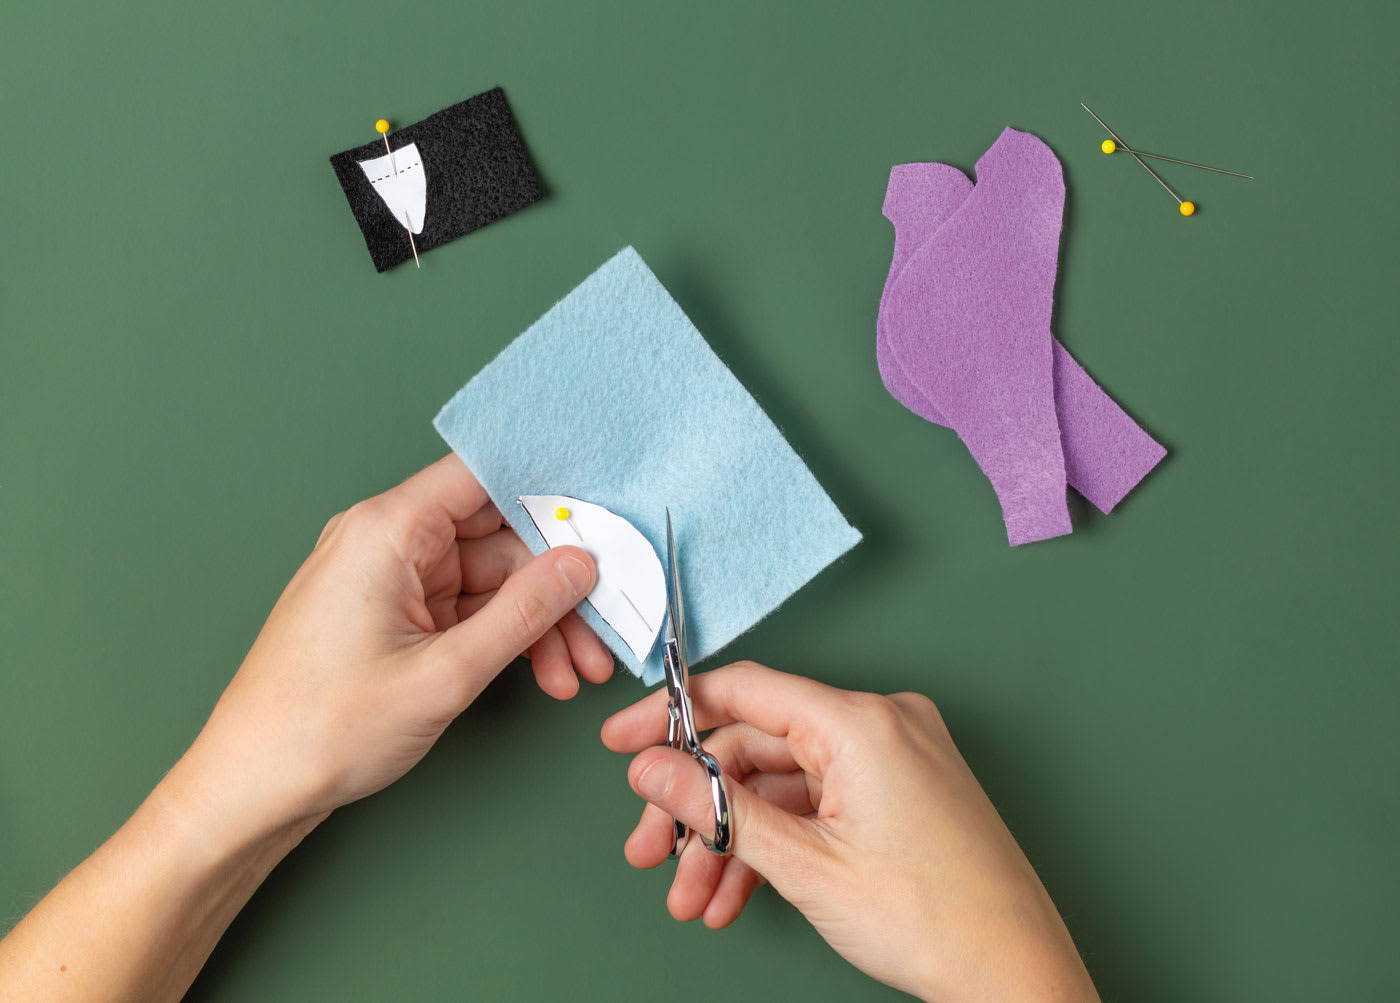
Step 3
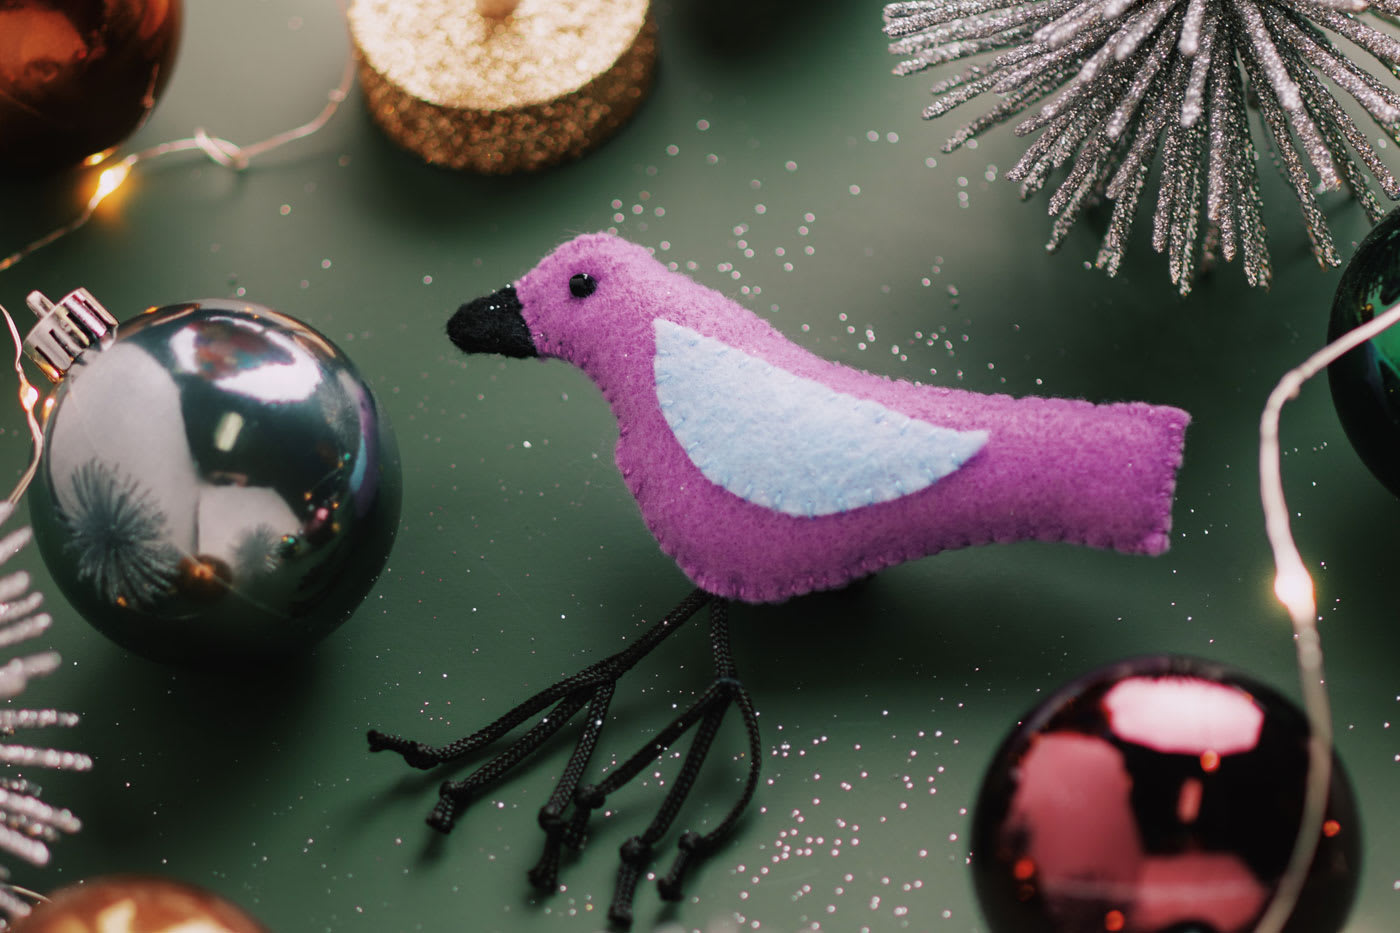
Using the templates, cut two pieces each of the beak, body and wing of the bird.
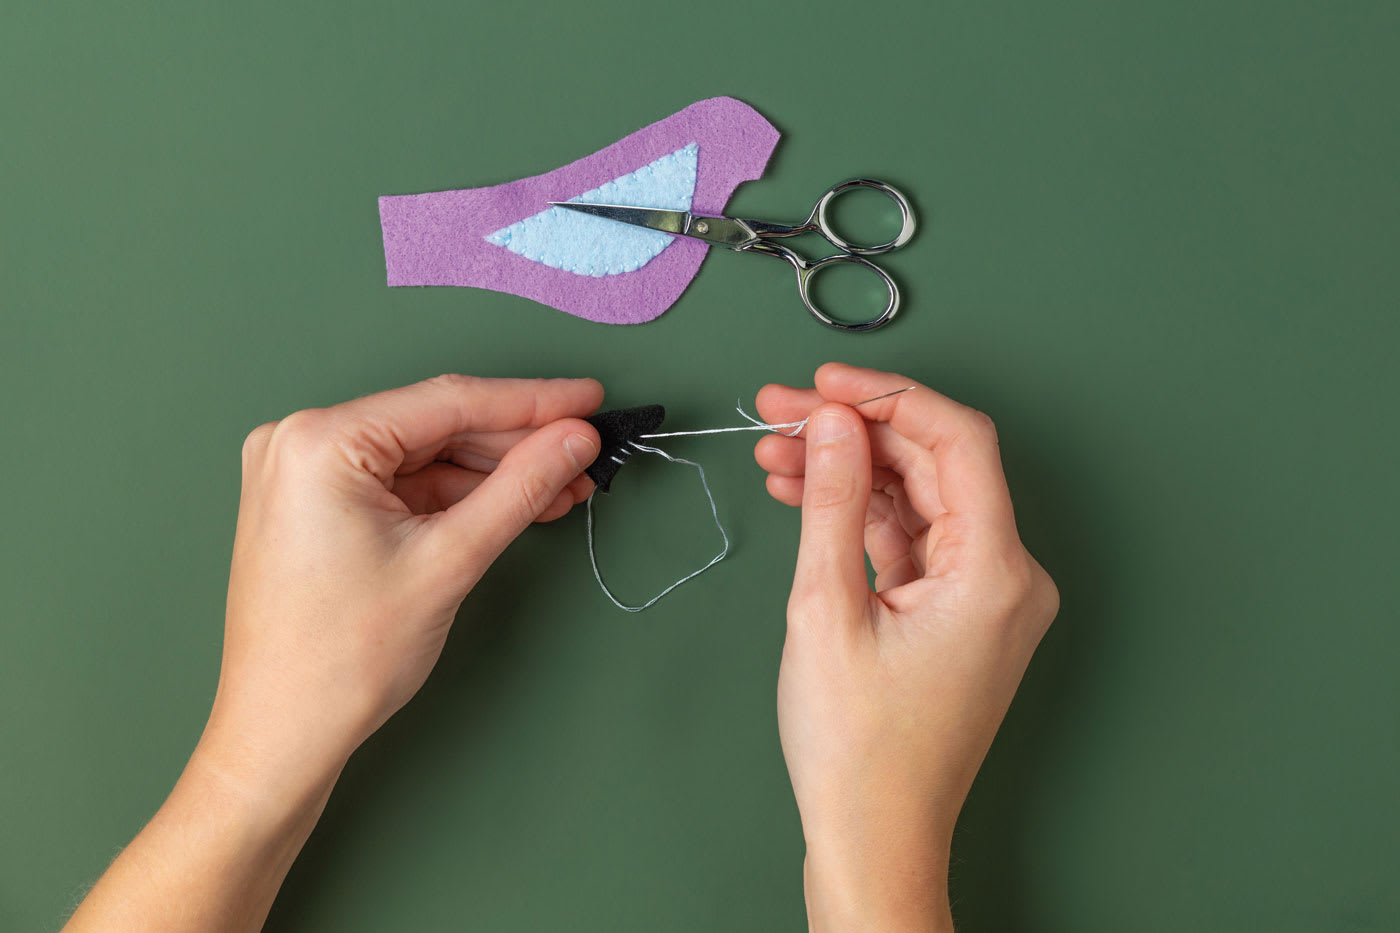
Step 4
Stitch the pieces of the beak together with embroidery floss. Stitch a wing to each side of the body. We used a blind stitch with two strands of thread, but any stitch will work.
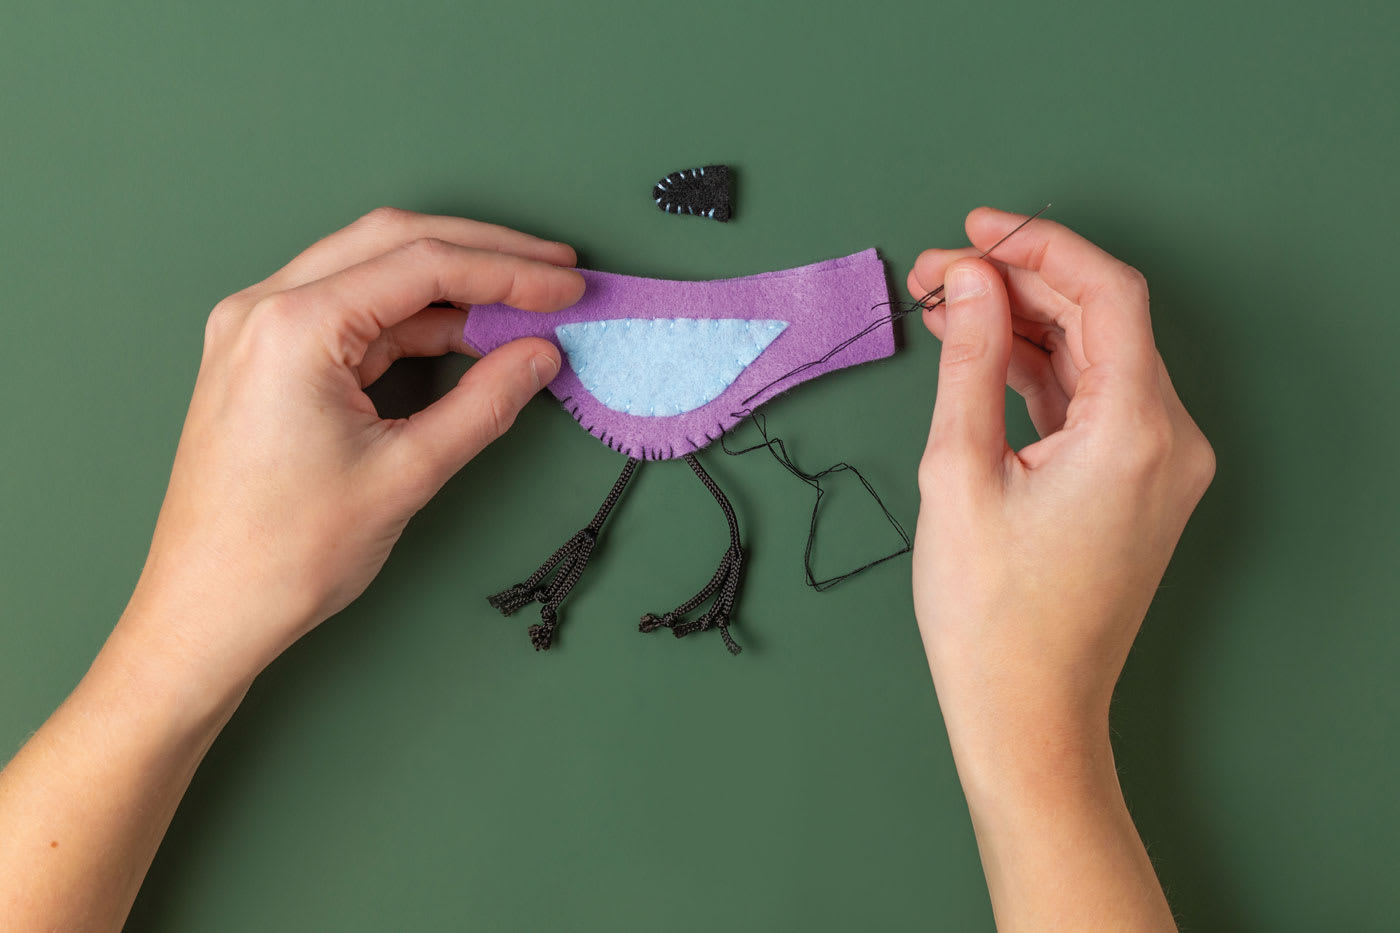
Step 5
Place the bird bodies together and pin. Begin stitching with embroidery floss at the front of the tummy below the neck. When you reach the middle of the tummy, fold the legs in half and tuck the folded end inside the bird, and stitch into place. As you go, stitch the beak into place. You can add a couple of extra stitches to hide the back of the beak. Do not stitch the neck yet.
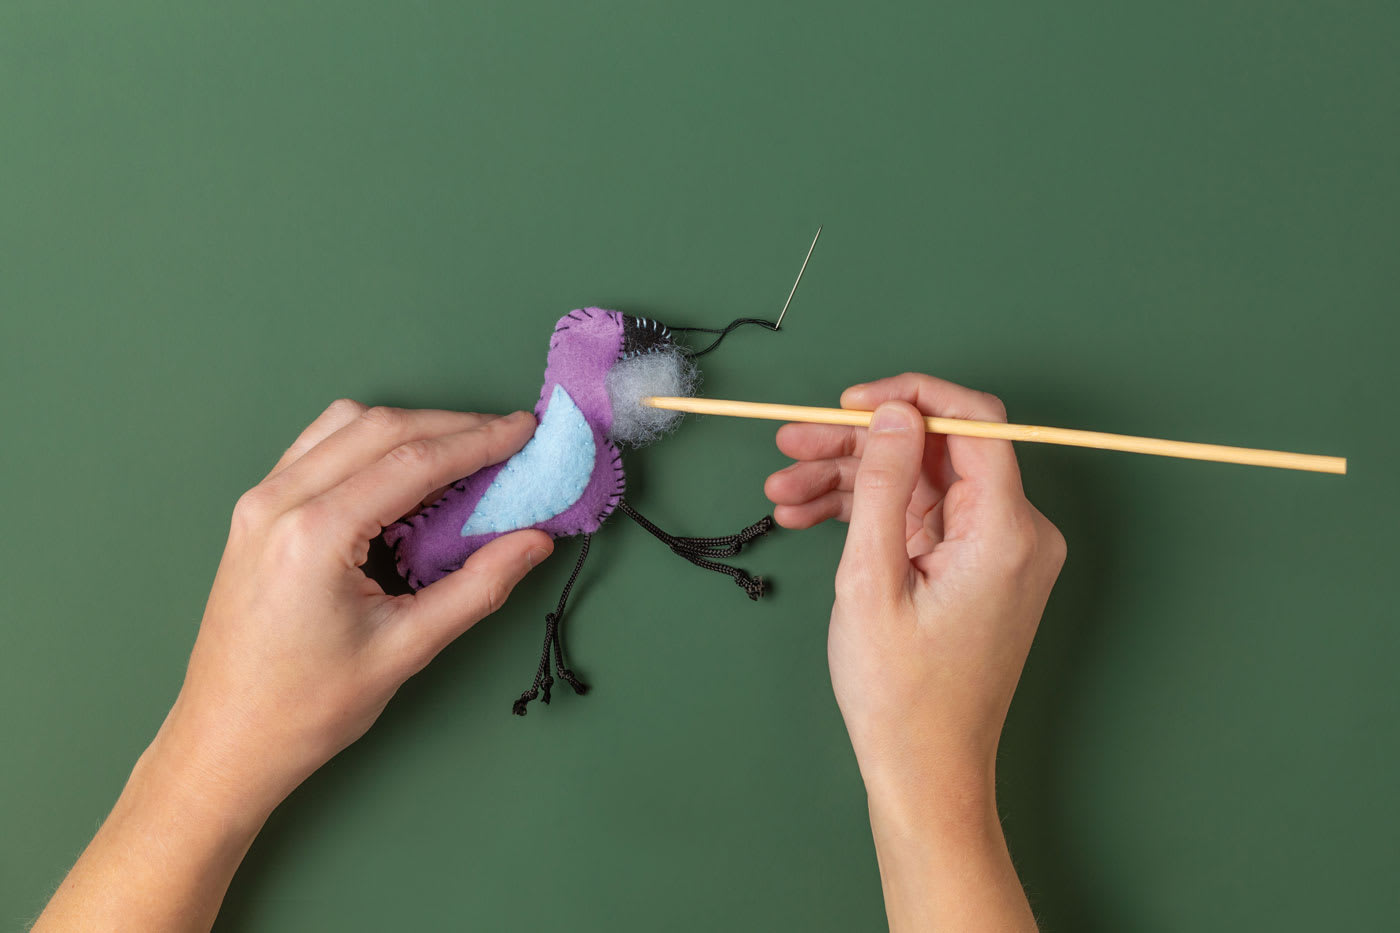
Step 6
Stuff the bird with filling through the opening at the neck, using the chopstick to help distribute the stuffing. Then stitch the neck closed.
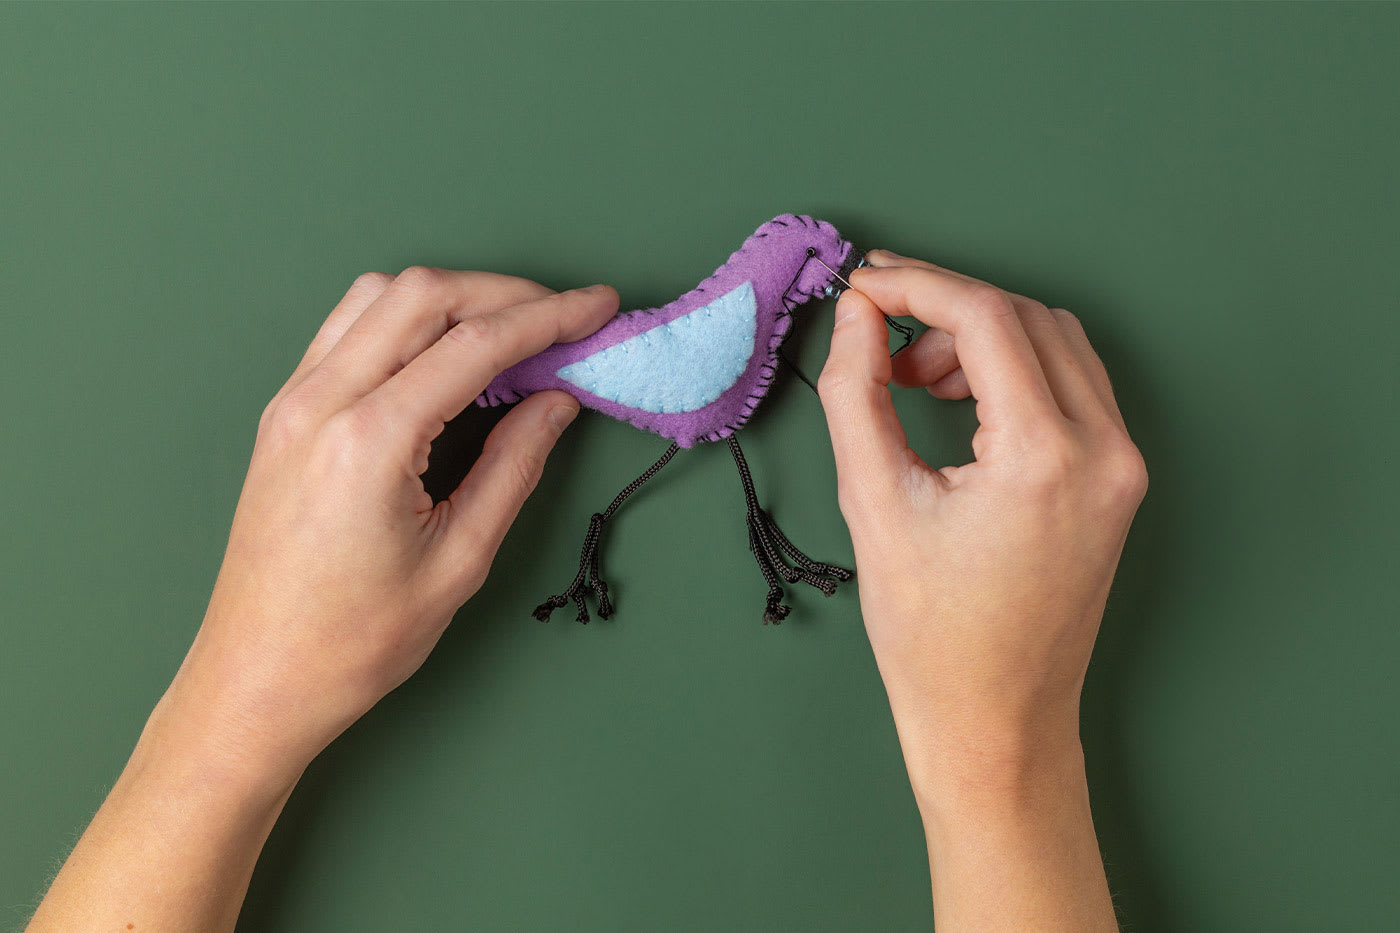
Step 7
To make the eyes, push a threaded needle through the bird at the eye location and pull through all layers to the location of the eye on the other side of the bird. Thread on a bead, and then push the needle back through the body to the start position and add the second bead. Stitch through all layers several times to secure the beads. To finish the bird, add a hanger of fishing line, thread or string.
Find the template at colonialwilliamsburg.org/downloads