
Caring for and growing the Tuberose in your garden
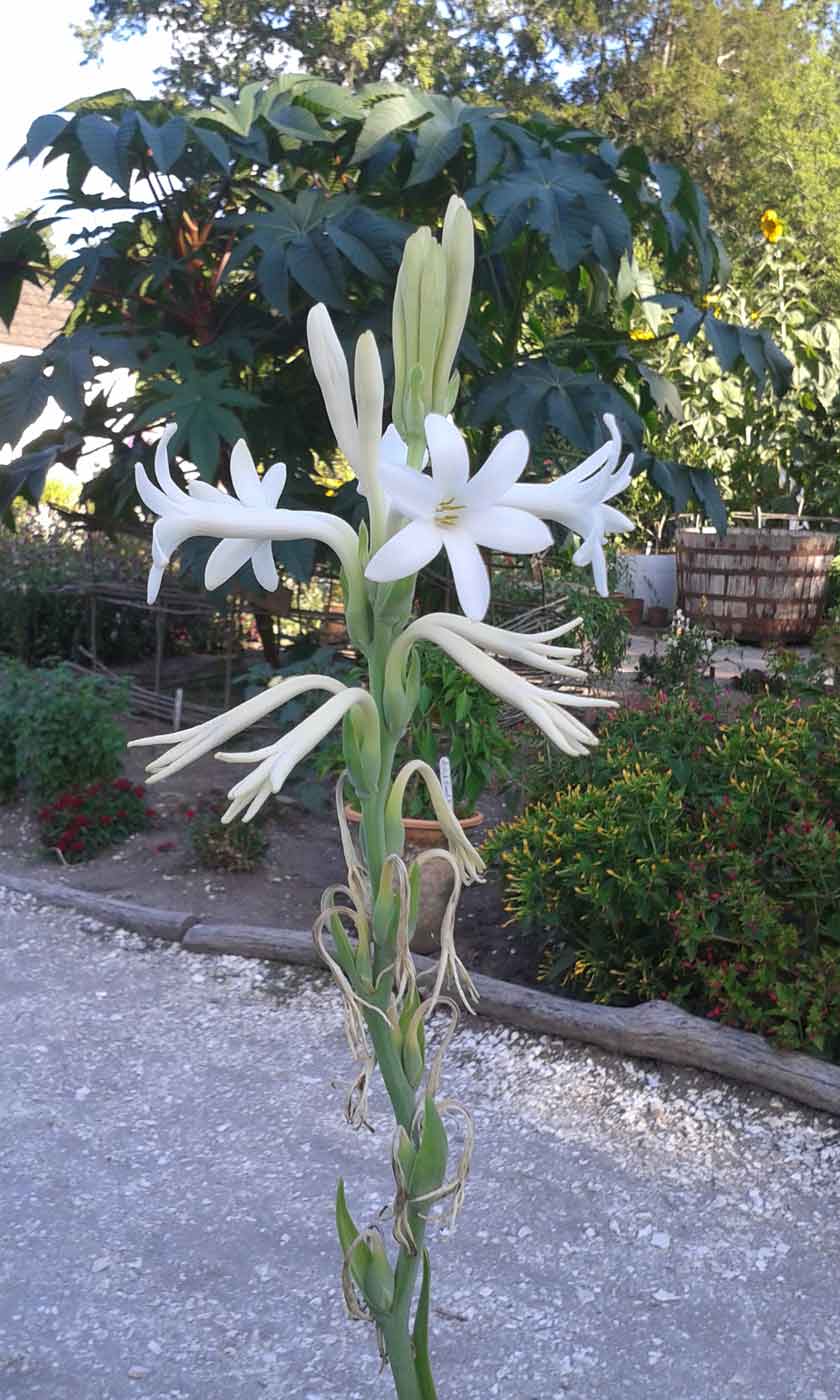
As we celebrate the beauty of gardening in during our Virtual Historic Garden Week, all manner of plant life is before us to enjoy. Not only is there a feast for our eyes, our sense of smell is also delighted by the likes of the Tuberose (Polianthes tuberosa). Found in 18th-century gardens of some Williamsburg residents such as John Custis IV, these flowers are enjoyed today in the Colonial Garden. On a warm summer day at dusk, the scent of the tuberose will drift as far as across Duke of Gloucester Street.
Tuberoses are perennial in zones 8a-11b. A native of Mexico, they are classed as a bulb that requires a warm climate with adequeate water and fertilizer. For those who do not garden in these warm zones, and Williamsburg is one of them, if you plant your tuberoses in the ground, you will have to dig the bulbs and bring them indoors over the winter. Another solution is to plant in flower pots that can be brought in for the winter. The following directions will guide you through the process of overwintering, dividing and potting up your bulbs. I promise that this work is well worth the effort.
Step 1
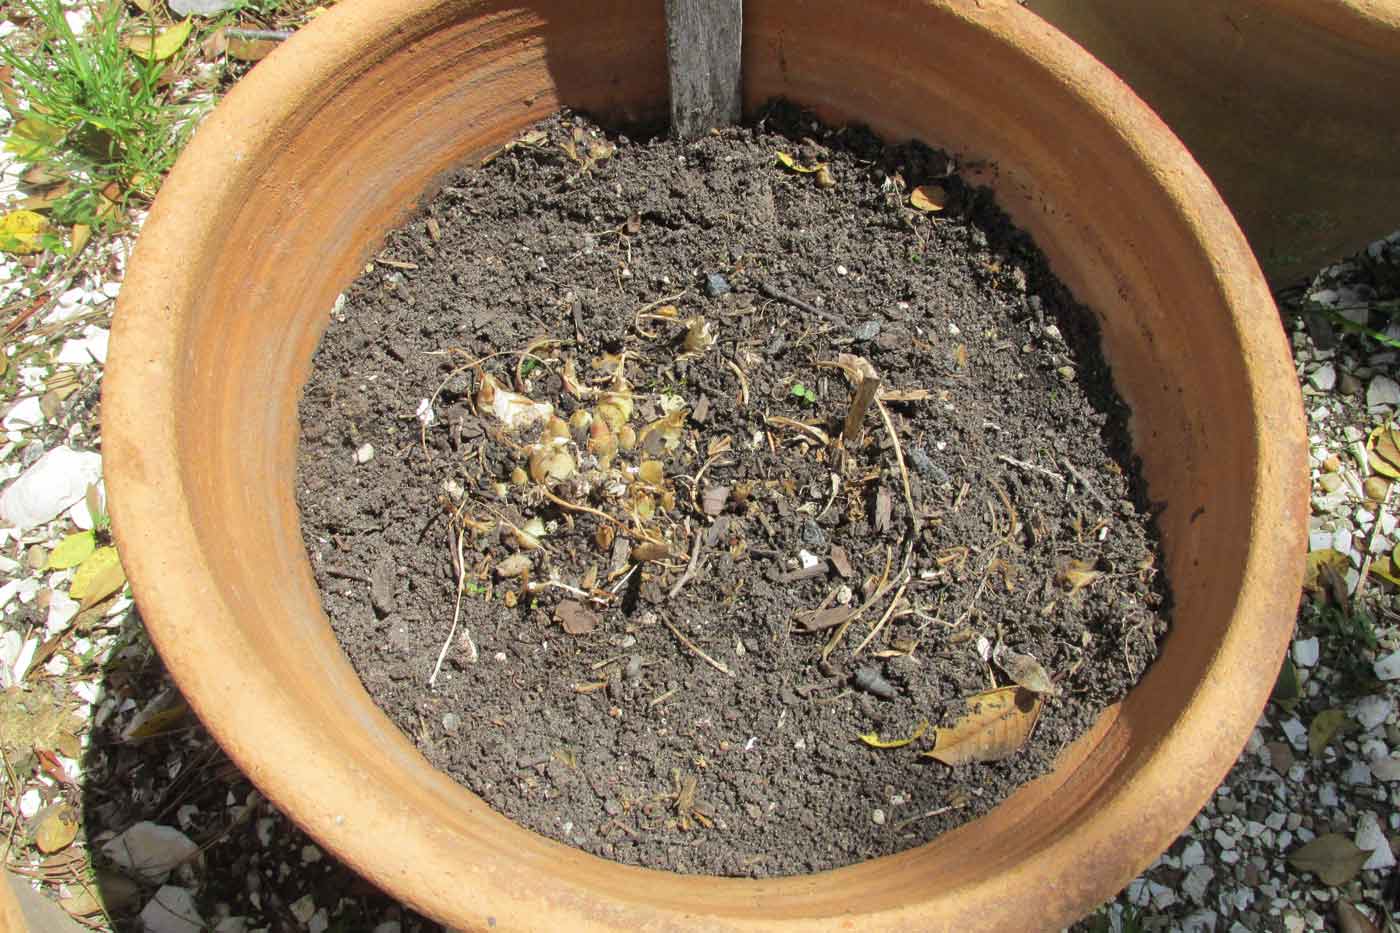
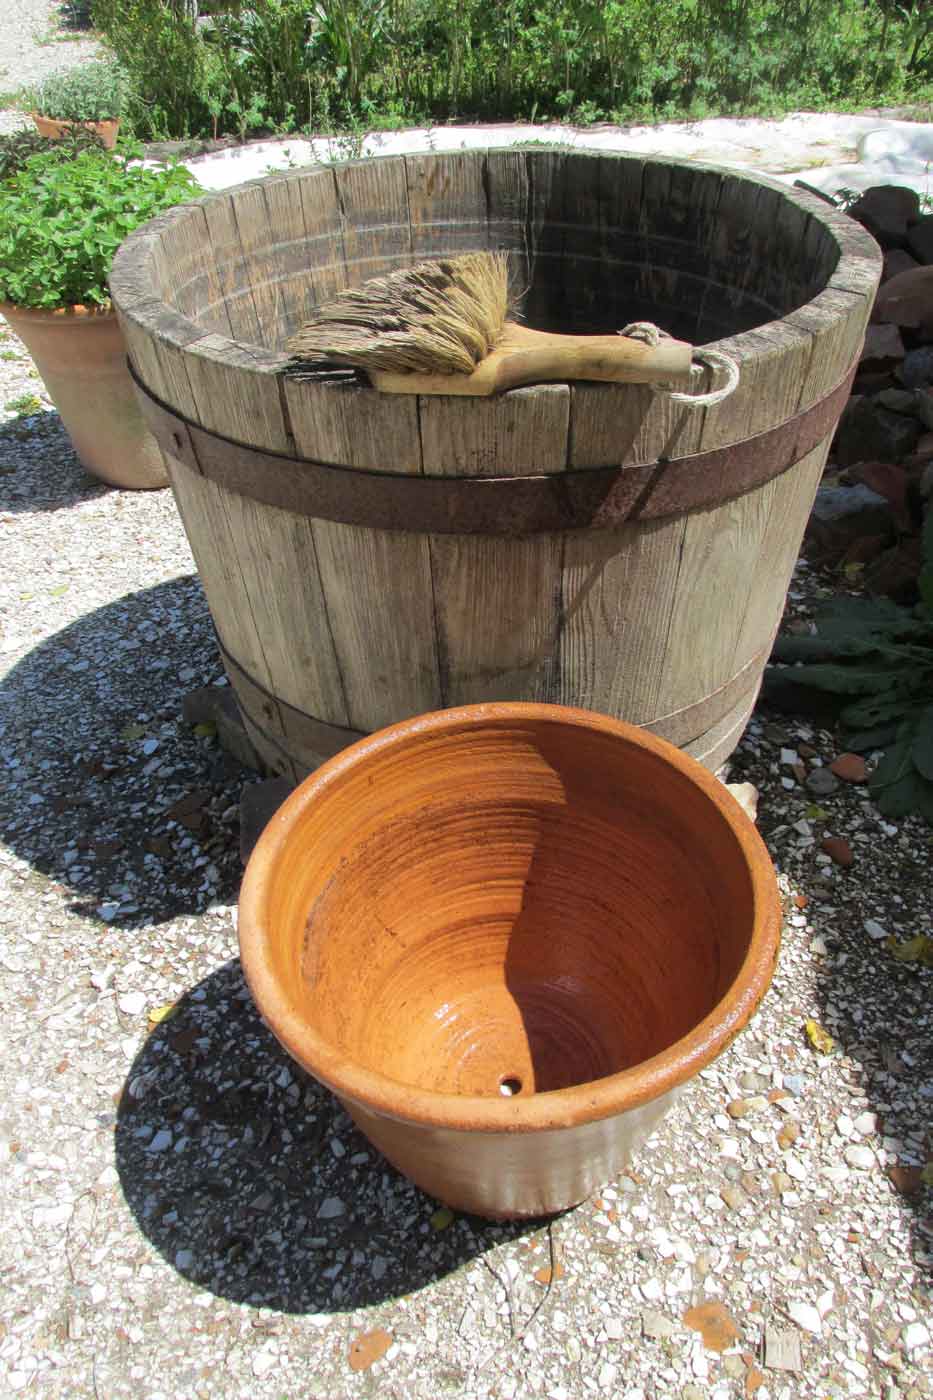
Since the winters are too cold for our tuberoses, we choose to plant them in large flower pots as specimen plants. If you choose to plant them in the ground, you will have to dig the bulbs up and bring them in for the winter. We’ll go over overwintering at the end of this post.
Step 2
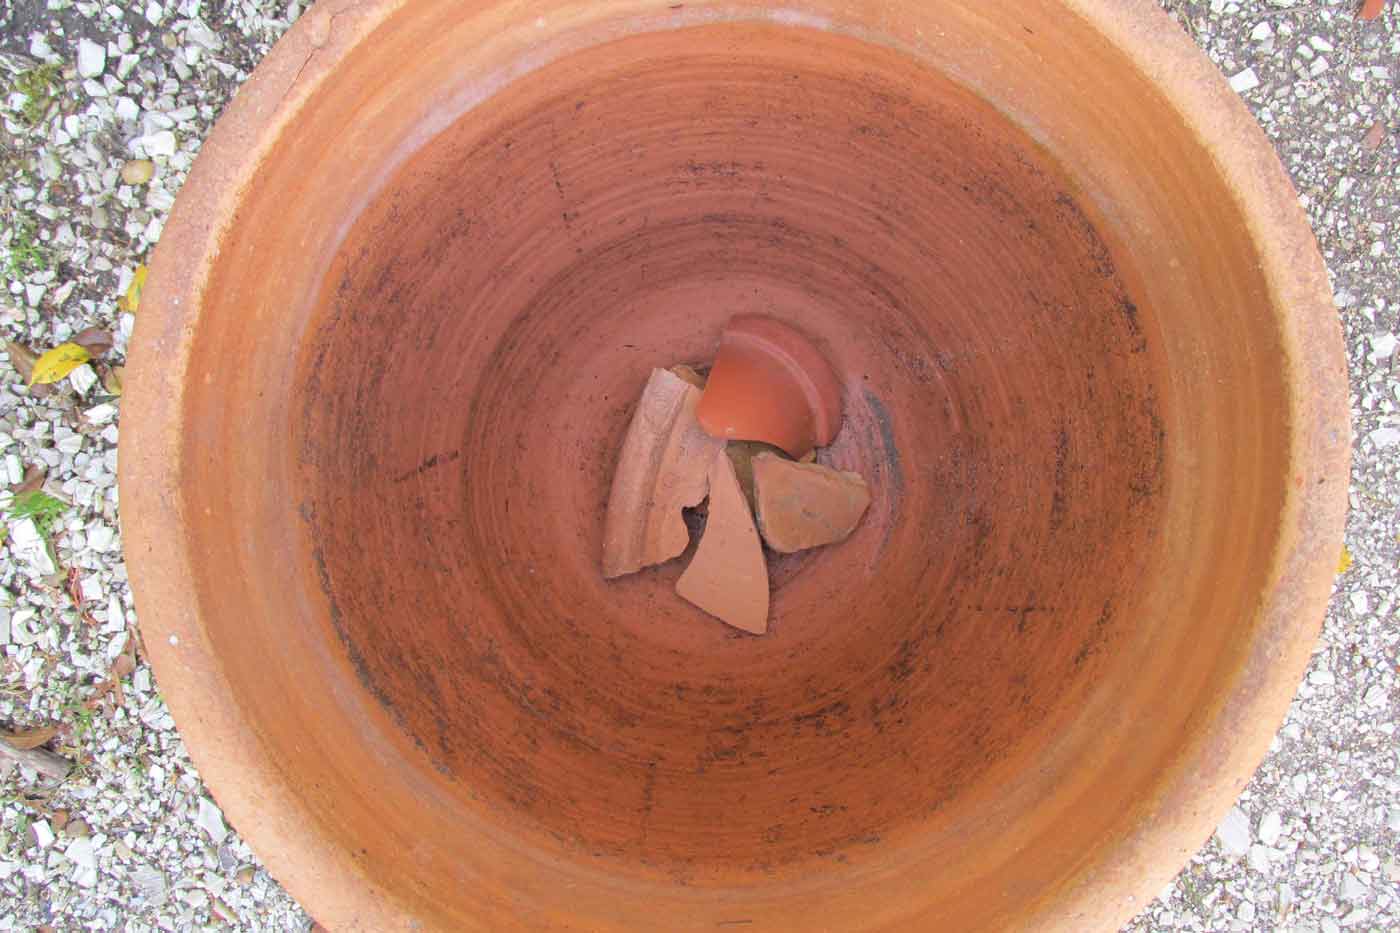
The roots and soil are a solid mass so it is safe to turn the whole thing on its top, taking care to protect the tips of the bulbs. Not seen are the pottery shards that have been consumed by the roots and out of sight. Take care to find, and remove them. We use shards of broken flowerpots and large clam shells to provide drainage and keep the soil from washing out of the bottom of the drainage hole.

Step 3
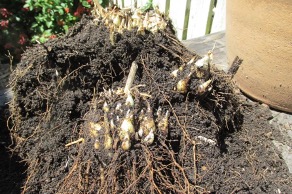
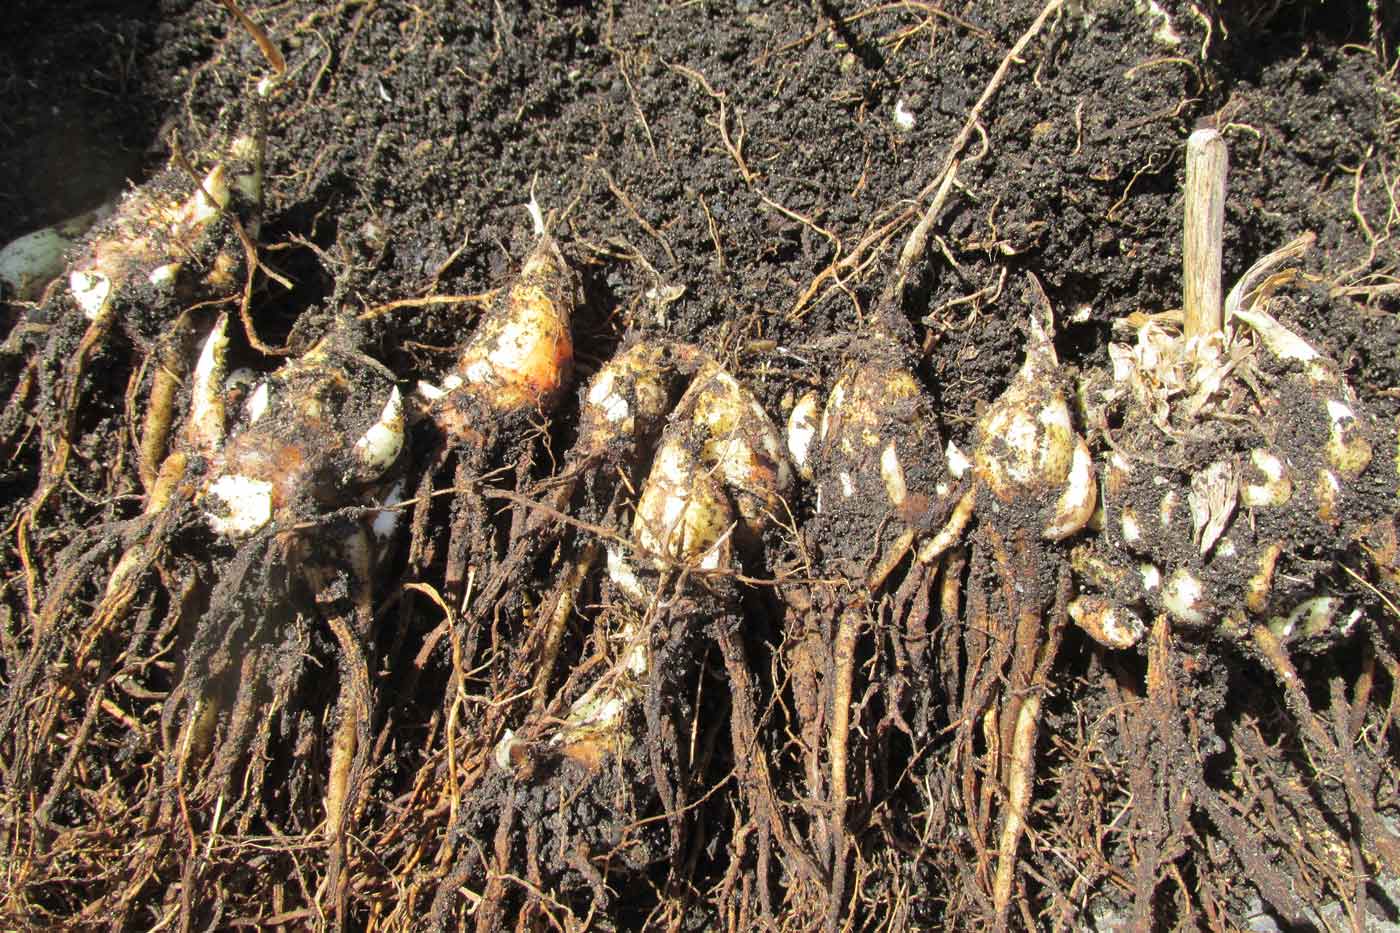
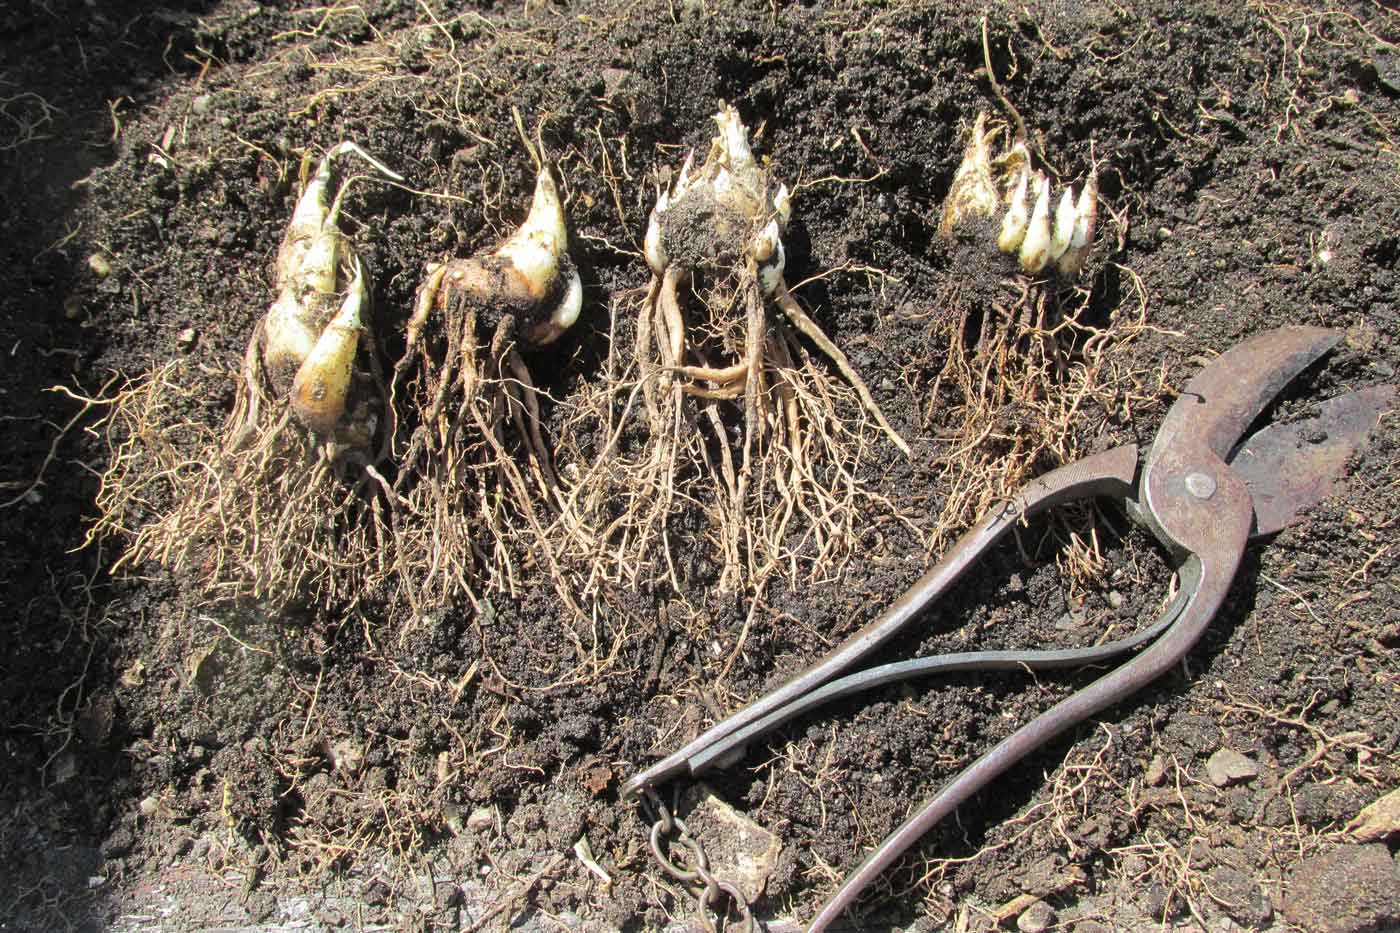
Gently pull apart the clumps of bulbs and turn the plants right side up. Note the stem from last year and how many new offsets or bulbs were formed during the last growing season. Pull apart the clumps, look for large bulbs and the center of the clump from last year. Last seasons bulb clusters will be some of the largest, and will usually re-bloom.
Step 4
Prepare a 5-gallon flower pot. Since we are reusing our clay pot, it will be washed and scrubbed to remove any soil or possible pathogens that could harm our bulbs. Good garden sanitation is always a must to keep your plants healthy.
Step 5
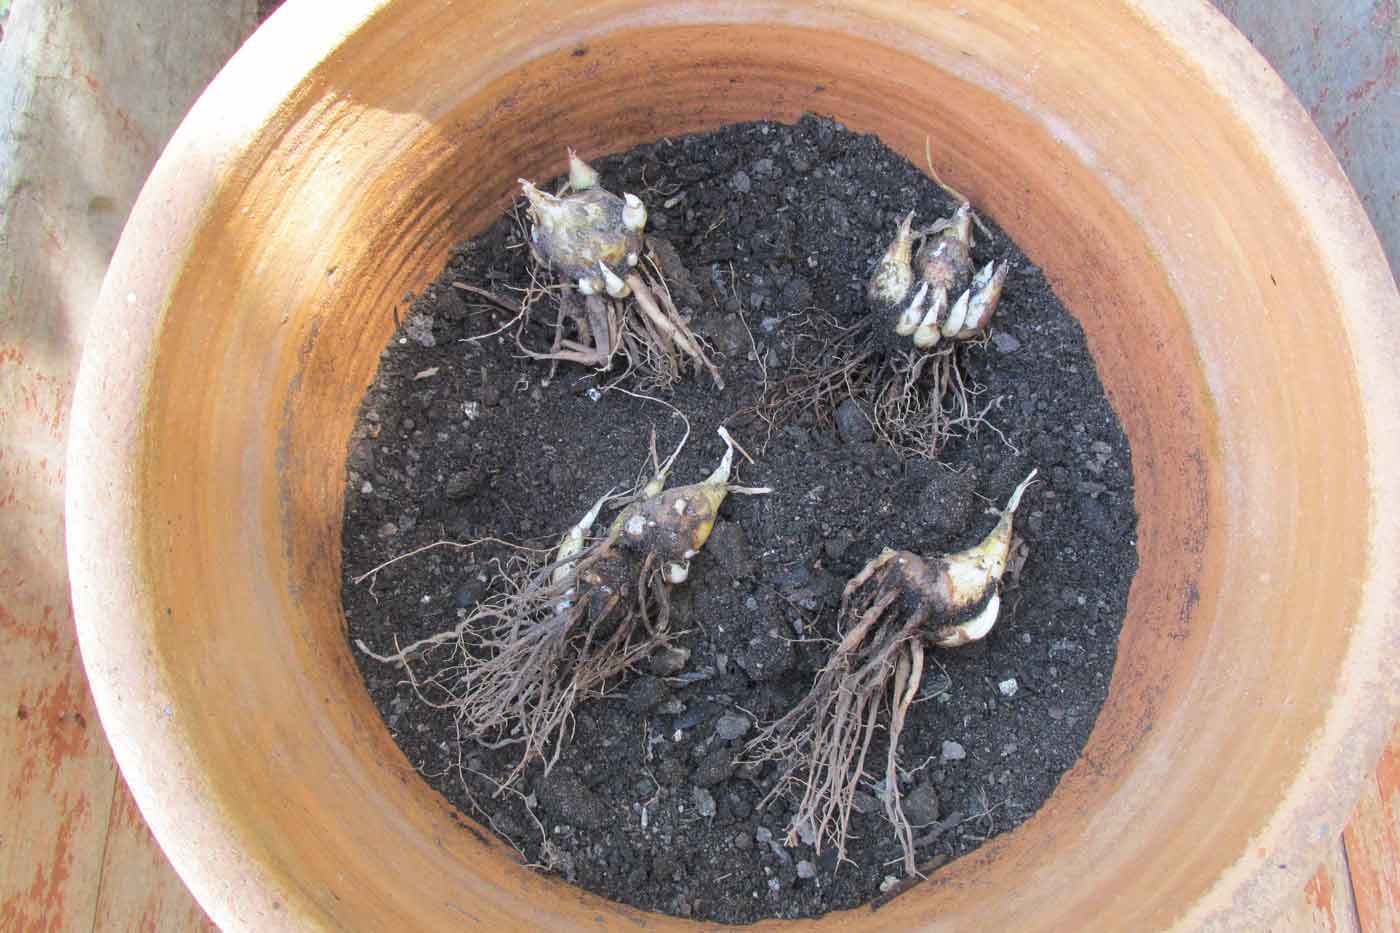
Trim off the dead and dried ends of the roots. I have chosen four clumps of bulbs. My flower pot is rather large so I chose the amount of roots to comfortably fill the pot and leave enough room for the roots.
Step 6
Fill the flowerpot approximately halfway with your potting soil. We use a potting mix that we make from our compost and add in composted chicken manure for fertility. For those of you without access to compost or chicken manure, any well-draining potting soil will do. There are soil mixes with fertilizer added, just make note on the calendar when the fertilizer will run out and when that date arrives, supplement with a fertilizer until the plant is done for the season.
The bulbs have been positioned and while the soil is added, stand the bulbs up with the growth point up, and roots down. Thankfully this is one bulb that the gardener can tell which end is up. But someday, if you find yourself in the situation where you can’t tell which side goes up or down, plant the bulb on its side and nature will do the rest.
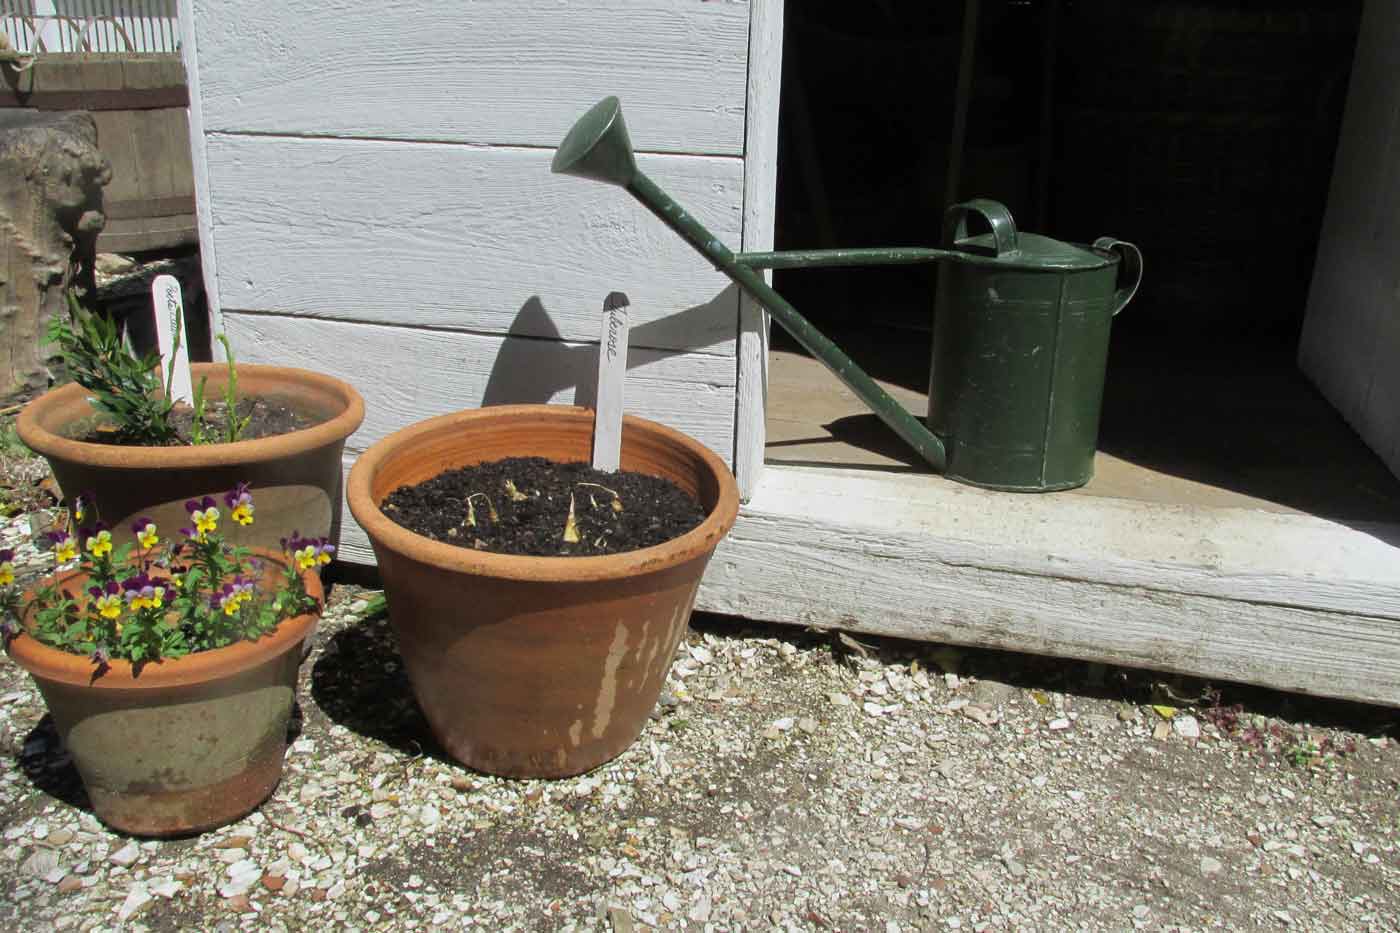
Step 7
Fill the pot with soil to within a few inches of the rim. Always leave room for water to pool on top of the soil. This allows the water time to sink in and moisten all of the soil in the flowerpot. Note that the tips of the bulbs are not buried.

Step 8
Finally, as soon as the bulbs are potted up, place the pot where it will receive full sun and can be enjoyed. Once moved, water until the soil is soaked. Tuberoses like moisture but be careful to not waterlog the plant. The best way to tell if a plant needs water is to plunge a finger into the soil a few inches and see if it is dry. Many times, the top is dry but down below, there is plenty of moisture. Be prepared to stake your plants as they will send up a flower spike that can be three feet tall.
End of the season and overwintering:
At the end of summer, when the tuberoses are looking tired and before the first frost, carry the pot and all to a garage or basement and just forget about them. The greens will dry down and they can be clipped off. In the spring when all chance of frost is gone, bring the pots out and repot the bulbs as described above.
If you have planted your tuberoses in the ground, dig up the tuberoses in the fall before a frost, shake off some of the soil and allow them to dry and store in a garage or basement where it does not freeze. When the tops are dry, clip off the dead leaves.
As I mentioned, Custis had tuberoses in his Williamsburg garden. In 1736/7, there is a wonderful letter from Peter Collinson to John Custis IV. Collinson was an avid botanist and plant collector who bought and sold seeds, bulbs, and plants to gentleman around the world and supplied tuberoses to Mr. Custis more than once. When Custis first tried growing the Tuberoses, he commented that he did not have any knowledge of how to care for these bulbs. Collinson replies with a letter that was accompanied by a “Little Box”. Good advice for gardeners, even today:
“6-Tuberoses-att the Approach of Winter take these up and Lay the Roots singly to Dry in a Roome, when well Dry’d putt them in straw in a Roome where you keep a Constant Fire. In the spring as soone as the severe Frosts are over plant them in the ground.”
Collinson sends more bulbs over time. And here is where we will end, with the end of one of Collinson’s letters:
“I intend if possible to send you a few Tuberoses. I beg you’l Excuse the many repetitions, & Impertinencys in These Long Scrawls & be assur’d of the sincere friendship And affection of your Real friend P. Collinson”
Eve Otmar is the Journeyman Supervisor of the Colonial Garden and Farming programs in the Historic Trades Department at the Colonial Williamsburg Foundation. An avid gardener, she enjoys shooting her flintlock rifle, finger weaving and 18th-century textiles.
Sources
Swem, E.G. Brothers of the Spade: Correspondence of Peter Collinson of London, and of John Custis of Williamsburg, Virginia 1734-1746. Barre: Barre Gazette, 1957.